

When my first daughter was born, I slowly became inundated with papers and trinkets that I wanted to save but didn’t want piling up in my home. I stuffed them in a banker box which quickly filled up. Then, I asked my mom for help.
She reminded me of the memory boxes she made for my brother and I when we were kids. I pulled my box out of storage and spent a few hours looking through it.
I discovered that my mom, an avid sewer, sewed very few of my Girl Scout badges onto my sash. I found Easter artwork from when I was 3 made out of packing peanuts (now that is one way to up-cycle!). In the end, I was impressed with this simple, effective way to preserve my childhood memories so I got to work creating memory boxes for my own kids.
Here’s how to do the same:
1. Gather your supplies
You need a large box and 18 folders along with either number stickers or markers. I found fantastic clear plastic totes with colorful lids for my boxes and stocked up on cheap folders during back-to-school sales. I was able to buy folders for just 18 cents a piece, which made this project very inexpensive.
Another option is to get a file folder box and use file folders with tabs for each year. IHeartOrganizing has some awesome ideas for organizing memory boxes using file folders. Just remember to have enough space for 18 years of memorabilia.
2. Label your folders
I labeled my folders with a sticker number from 1 to 18 to represent each year of my kid’s young lives. (They are going to have to be responsible for their own memory boxes after the age of 18.) You could also write numbers directly on your folders or label the folders according to school years (i.e. 2017-2018) like Mary Organizes did.
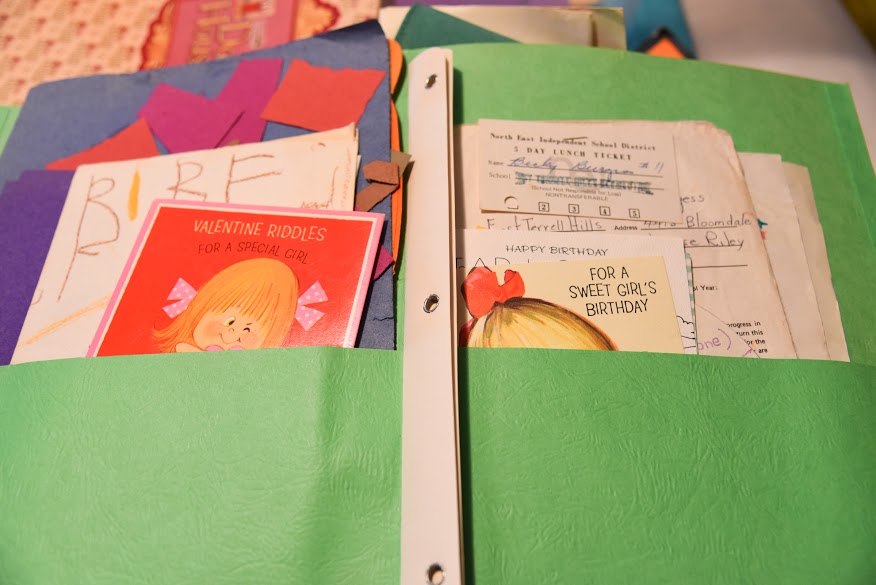
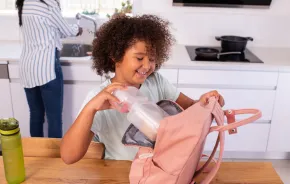
3. Fill your folders
Start filling the folders with artwork, trinkets, cards and the like. I prefer to stuff each year’s folder with everything I think I want to save. Then on my child’s birthday, I go through the folder and weed out items. My daughters, for example, are prolific artists but I don’t really need to keep all 213 versions of the snowmen they painted in co-op preschool.
I like to wait to edit items so I have a bit of emotional distance from them. If I try to decide immediately what to keep, I just want to keep everything. As my children get older, I imagine I’ll have them participate in this process.
4. Memory box extras
Some memory boxes might be enhanced with a few extra folders, but they’re not necessary. Some ideas for additions: baby information, health records and documents and certificates to help keep all of my kids’ vital information together.
Whether or not you do this, I recommend leaving a bit of space in your box for large art projects, photos and treasured books. If you have a lot of delicate items, also consider adding cedar blocks to keep moisture away.

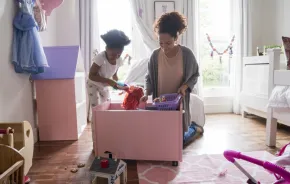
5. Finished memory boxes
Once you have your boxes filled with folders and your kids’ items, take a moment to label the outside of the box with their names or photos. This will make each boxes a bit more special and easier to find in storage.