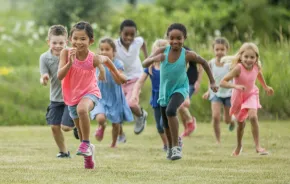
 Our first backpacking trip with our young daughter was to the popular Third Beach on the Olympic Coast, a mostly level, 1.5-mile hike through trees to a sandy Pacific beach. During the day, the beach was crowded with day users.
But as evening approached, the crowds dispersed and left us with a wide stretch of beach to explore by ourselves. The campsites are in the trees in a creek ravine, so we had water and protection from the wind, and a beach right outside our door. The tide was low, so we were able to see numerous starfish and anemones on the rocks.
It was a small slice of heaven. And our daughter was eager to go backpacking again — the result we had hoped for.
If your young family has done some car camping, you may be ready to step it up and get away from the crowds to experience the great outdoors in its more pristine state. There is nothing like hiking into the backcountry — no cars, no cell phones and no lights to filter the stars in the night sky. But it can also be challenging to backpack with young kids, and backpacking requires more preparation than car camping. Here are three strategies (plus some useful lists) for planning a successful first trip.
 1. Know your family’s limits
Experienced backpackers might want to change their strategy when adding a young child to the team, but neophytes will need to learn a whole new concept — less is more. Unlike car camping, where you could literally bring anything and everything you want as long as it fit in your vehicle (see my car camping article), backpacking requires you to distill down to the necessities based on how much of a load you can carry.
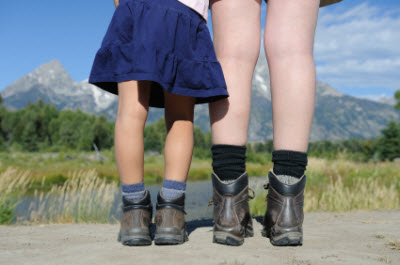
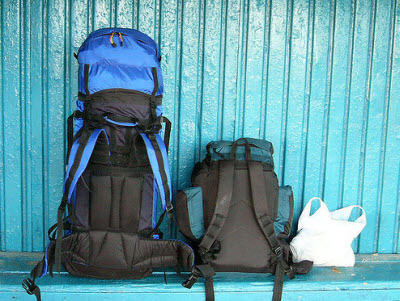
Few small children (under 7–8 years old) can carry more than 10–15 lbs., if that. Adults who are fit and able can usually carry 40–70 lbs., depending on their size. That means parents have to carry much of the load — especially the larger, bulky items like the tent, sleeping bags and pads. This gear list will help you decide who can carry what.
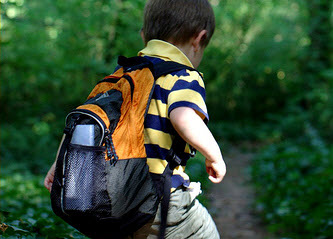
There are packs specifically designed for backpacking, sized for adults and larger/older children. These have both a sternum strap and hip belt to help position the load properly, as well as loops and pockets to attach items like sleeping pads to the outside of the pack. Smaller/younger children can make do with a simpler pack. Just be sure the shoulder straps are wide and padded. They should be able to carry water, snacks, a toy or two and a change of clothing/shoes.
(Photo credit: _val_,flickr)
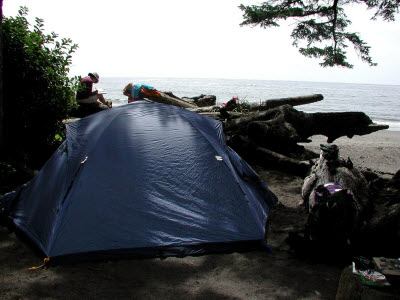
 2. Practice, and have fun
Prior to the big trip, practice hiking as a family with full packs. Neighborhood parks are a good place to start — In Seattle, try Seward Park, Volunteer Park, and Camp Long, which have trails that have some elevation gain and more rugged terrain.
Try a few of these tips to keep the kids moving along (borrowed from my neighbor Mark Wilkerson, father of a 4- and 7-yr-old): “Use a bread crumb strategy, offering a small treat for every 10–15 minutes of forward progress. Play hide-and-seek — one parent with child runs forward to find a place to hide and scare the trailing group, then the other. You'd be surprised at how fast you can move doing this. Plan to stop a lot, don't get too frustrated, try to remember it’s fun, and figure that you'll move at no more than one mile an hour.”
(Photo credit: sean drellinger, flickr)
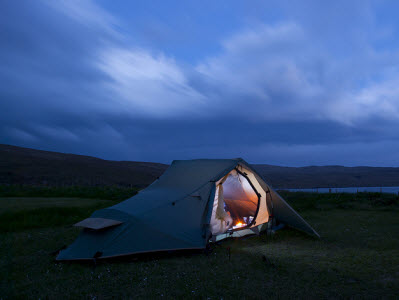 3. Travel light
Aside from the physical aspects of backpacking, the biggest difference between it and car camping is the level of isolation from civilization. No toilets, no potable water on demand and no driving to the store if you forget something. The trick is to bring just what you need and in the smallest quantities possible — think those little containers you need to make it through airport security — every ounce counts when it’s on your back.
As always, try gear before you buy, and borrow from friends or rent when you can. Have items do double duty — a cocoa mug can also be an oatmeal bowl, sporks are great two-in-one utensils. Paper plates don’t weigh much, but you’ve got to pack-out your trash, so you’ll want to keep that to a minimum. The gear list at the end will give you an idea of what you’ll need to bring.
Aside from your necessities like the tent and sleeping bags, food and water will be your heaviest items. Until your children can carry close to their fair share, it’s best to keep your trips to one night. If your destination includes a source of water, you can augment your water supply by bringing a quality filter or iodine tablets. You can save your tasty water from home for drinking and use the sterilized water for washing up and cooking if needed.
Food should be lightweight and simple to prepare. You won’t have the luxury of an ice chest so stay away from things that need to be kept cold. But you will be able to heat water with the aid of a single-burner propane camping stove. Anything that just needs boiling water or can be eaten raw is ideal. Good choices are dried fruits, oranges/apples, nuts, granola, trail mix, peanut butter, crackers, jerky, pre-chopped veggies, instant oatmeal, cocoa, soups and ramen noodles.
(Photo credit: Z-snipps-whisper flickr)
 4. Pick the right hike
My husband and I had done a few serious backpacking trips when we were “pre-child,” so we had the gear and knew the specifics of the sport. But we had to change our strategy when it came to destination. Where we previously gloried in the two-mile, nearly vertical hike up to Boston Basin and Forbidden Peak, we realized we’d be better off sticking to shorter, fairly level hikes with our six-year-old.
There are a number of hiking websites that can give you options for your maiden backpacking trip (see “Web Resources”). Another good resource is Joan Burton’s Best Hikes with Children in Western Washington & the Cascades.
Once you’ve narrowed your choices, be sure to research them out thoroughly by asking hiking friends and searching online for current trail conditions. Thanks to a web search, we once bailed on a potentially miserable trip to The Enchantments at the wrong time of year — it was mosquito season.
Keep in mind that you will almost always need some kind of pass to park your car at a trailhead overnight, and some hikes into the backcountry require a permit. Be sure to check with the local ranger station for that area — another great source for current trail conditions and maps.
Third Beach was an excellent first backpacking experience for us. Another memorable early trip was an easy hike to the backside of Twin Lakes at the base of Winchester Mountain in the Mt. Baker–Snoqualmie National Forest.
Though many people hike the 2.5-mile mining road up to the lakes, in mid-August we were able to drive it in our SUV. We parked, put on our packs and hiked about a mile in to the other side of the lakes where we set up camp. We had the place completely to ourselves! The lakes were beautiful — often with a mirrored view of Mt. Baker on their surface — but too cold for swimming.
Because of the elevation, our campsite had patches of snow, which allowed us to bring luxuries like milk that we could keep cold, thanks to nature’s ice chest. A short walk from the campsite brought us to the edge of a ravine with incredible views stretching into British Columbia.
As always, we mixed in some easy fun with the “work” of camping The next day, we packed out after a leisurely breakfast and headed for Mt. Baker, where we played in the snow in our shorts and hiking boots and enjoyed a picnic lunch.
It paid off. As our daughter grew, we were able to tackle more difficult and rewarding hikes and camping adventures — from the Olympic Peninsula to the red rocks of Utah. By middle school she was a seasoned pro, easily tackling her 8th-grade backpacking trips: a three-day jaunt on Mt. Rainier and an 18-mile trek down the Washington Coast. We were so proud to hear her teachers say what a “happy camper” she was.
 Web resources for family backpacking
The Internet is a great source for in-depth information on the nitty-gritty of backpacking including tips, destinations and gear.
Our own REI offers a ton of how-to web articles and even in-person classes at select retail stores.
REI Expert Advice: A wealth of how-to articles and videos
Washington Trails Association: First Backpack Trips for Kids. Northwest camping expert Joan Burton lists her top eight destinations
Washington Trails Association: Your complete source for up-to-date info on trails and hiking in Washington State
Trails.com: A subscription service that offers trail info and first-hand comments
The Backpacker.com: Great info on Washington hiking trails submitted by other hikers
Summit Post: A collaborative community site that offers first-hand info and comments on a variety of hiking/climbing experiences
 Backpacking gear list
Remember — less is more. Whatever you bring: keep it light, keep it compact, keep it simple.
Must-haves