
The trees are blooming and the daffodils are popping. It’s starting to feel a lot like spring. Why not bring some of that season-changing magic inside? These fun, child-directed art activities are simple and can be great collaborative art-making experiences for groups, siblings or parties. Give them a whirl!

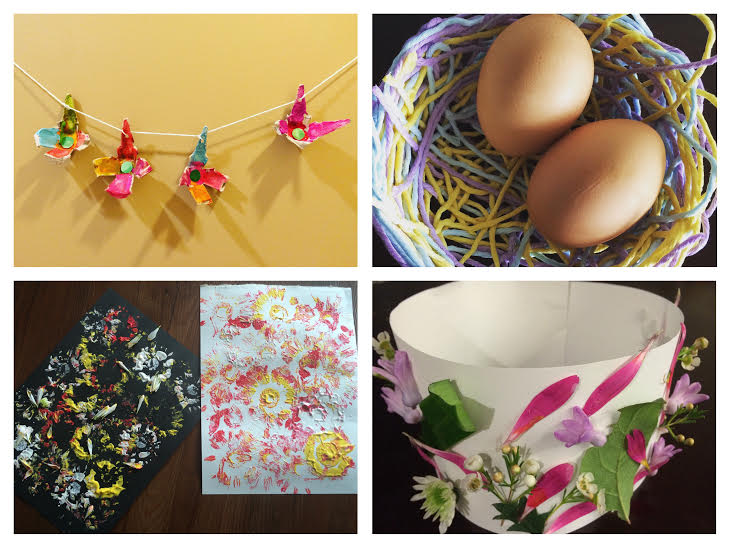
Egg Carton Flower Garlands
How you make them:
- With the egg carton pods separated from the rest of the carton, cut little slits in each one to separate the sides.
- Give them to your little one(s) with the flower pointing up and let the painting begin! I always like chatting during this time about the different colored flowers that we’ve seen outside.
- When each is done, before they dry have your little one(s) put circles in the middle of each flower. The paint will act like an adhesive.
- When all of the flowers are painted and dried, use a hole punch to punch a hole in one of the flower petals on all of the flowers. (Hole punches are so much fun to use for kids!) Since egg cartons are a little bit thicker than regular paper, this may be a job for a child who’s slightly older, but there are great child-friendly hole punchers available that make things easier for little hands.
- Once all of the holes are punched start stringing! Make sure to tie each flower off so that they stay put.
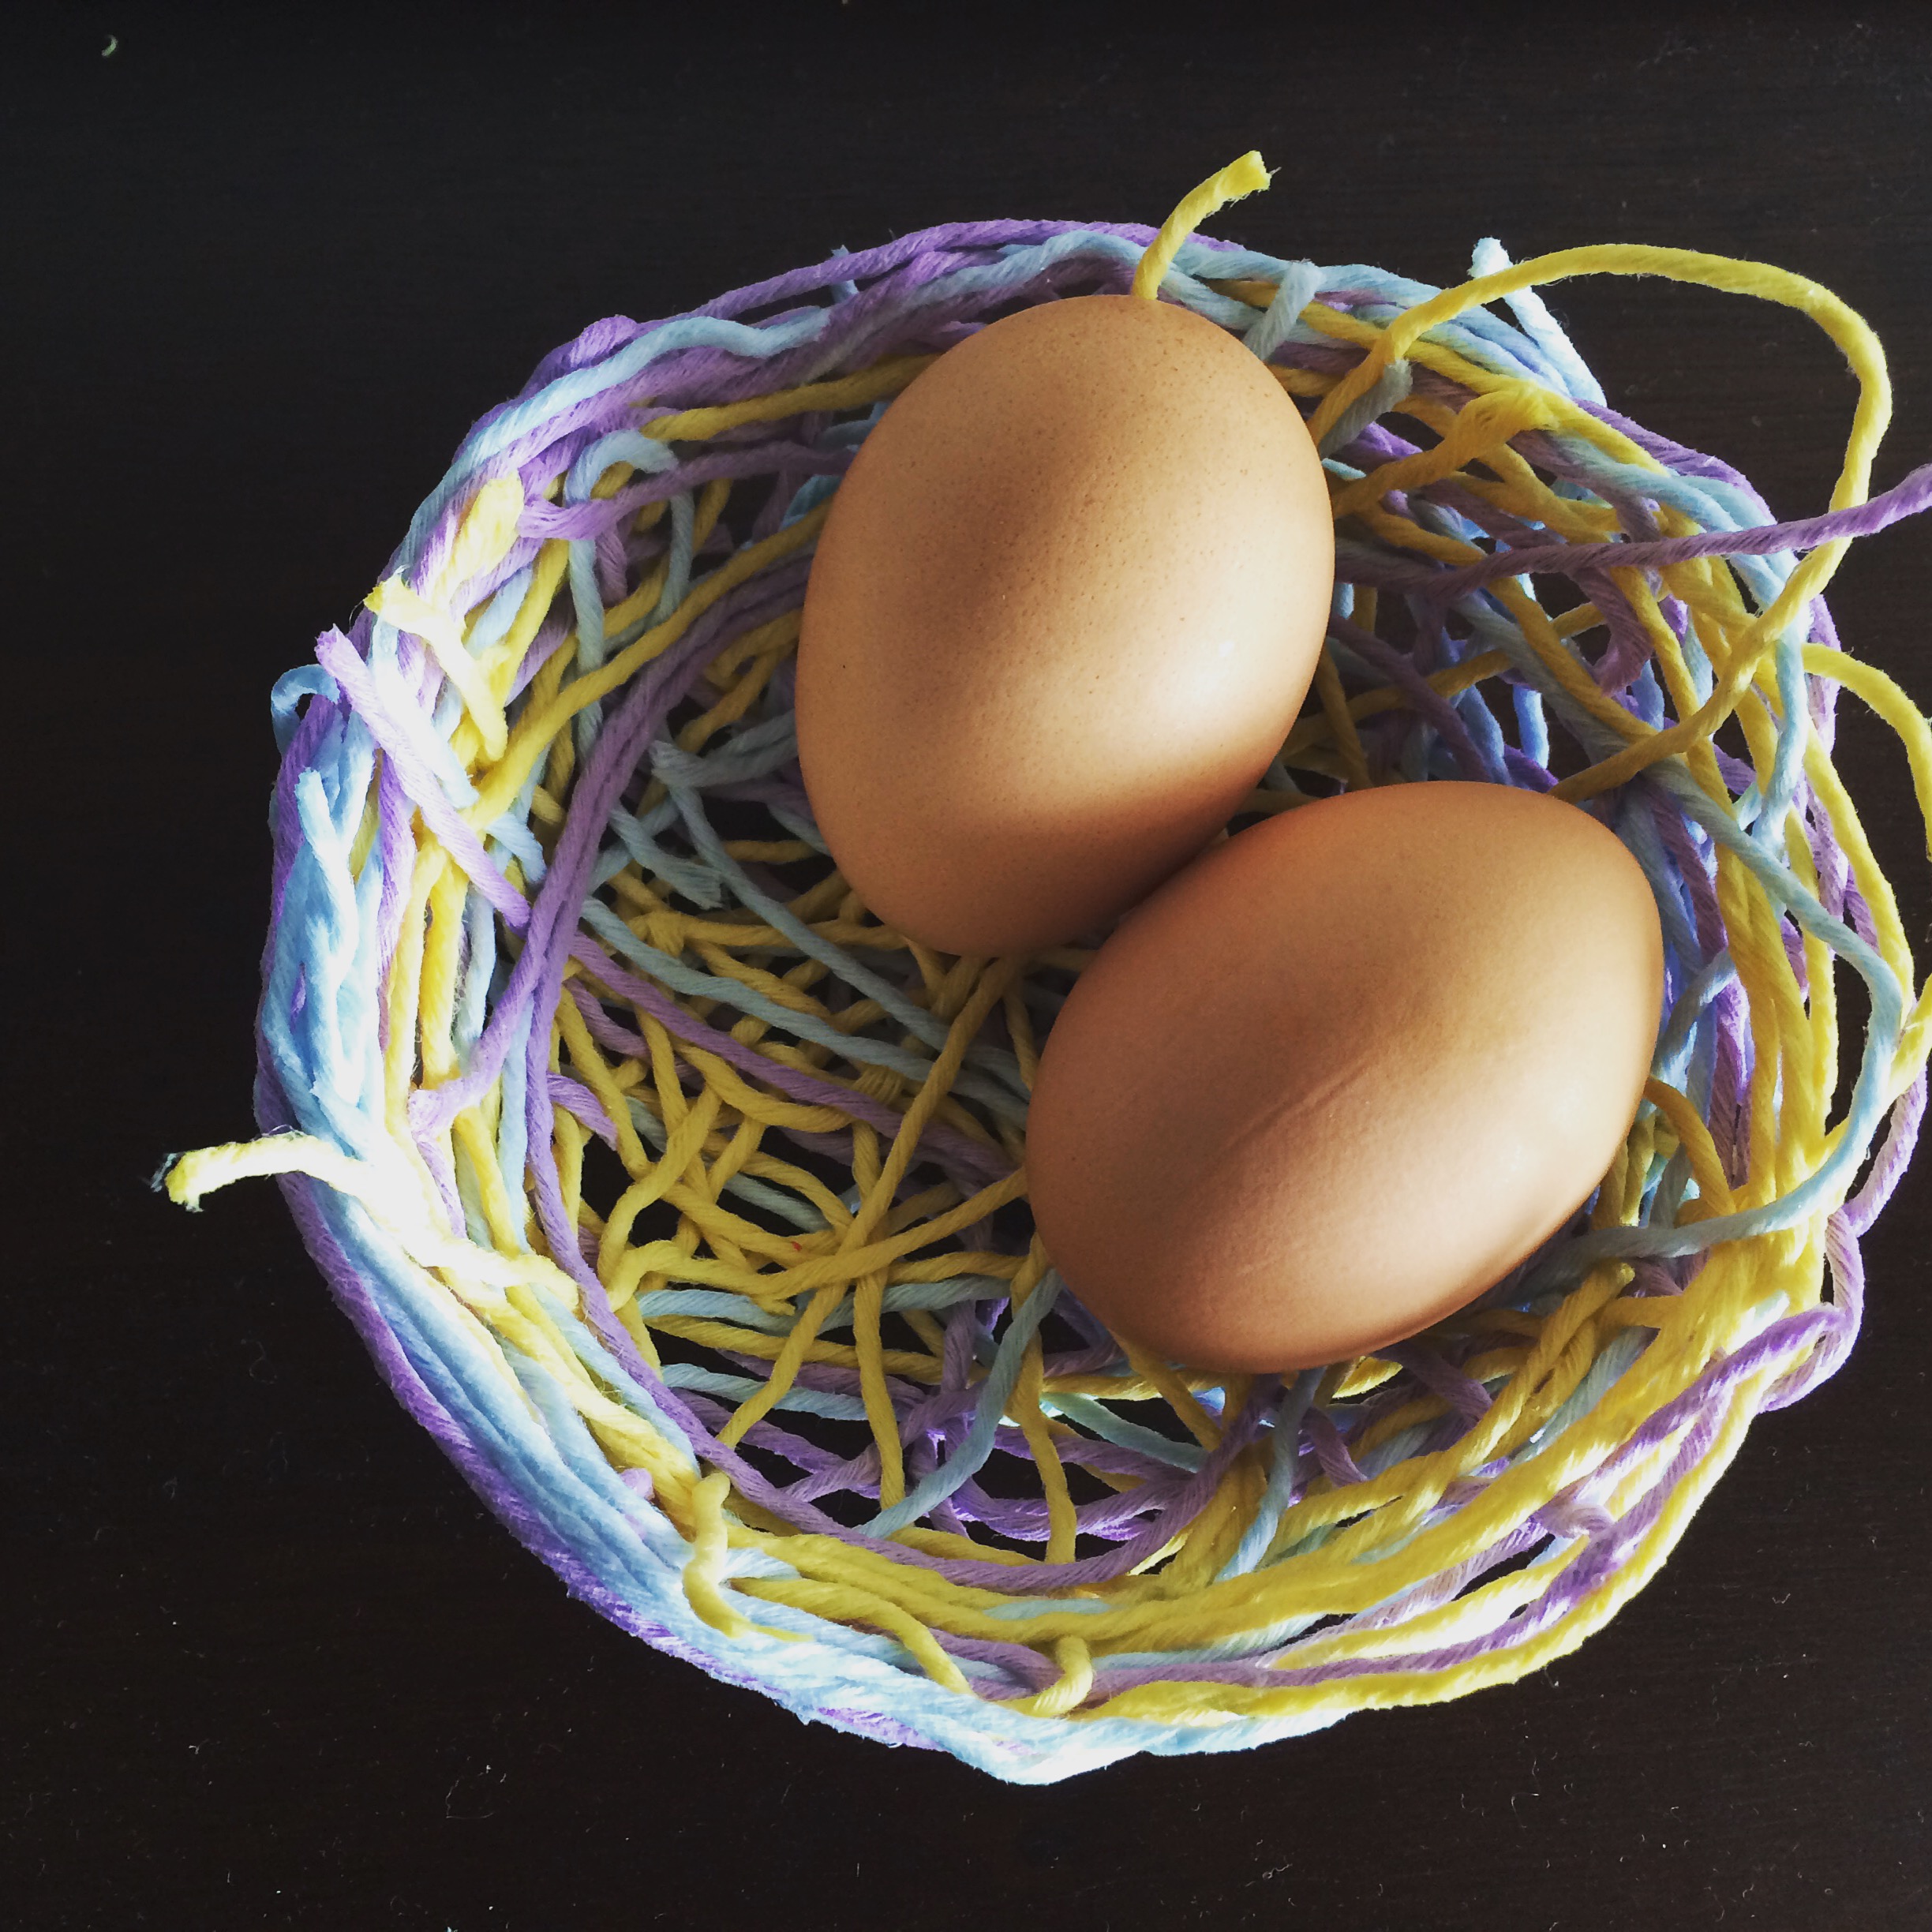
Bird's Nest
How you make it:
- In a large bowl, mix together half school glue and half water.
- Cover the outside of the bowl with plastic wrap and place it plastic wrap side up on a tray.
- Take your pieces of yarn and submerge them into the glue/water mixture, making sure that the pieces are really covered.
- With fingers or tongs grab one piece of yarn at a time and start building your birds nest on your plastic-wrap covered bowl. Place the pieces this way and that, wrap them, layer them and see what happens! If your little ones are hesitant to touch the glue and they’re still building up on those fine motor skills, clothespins are a great substitute for tongs.
- Cover the whole bowl with yarn and when your little ones feel like it’s complete, leave it to the side to dry.
- After a couple of days, peel your creation off of the bowl and you have a bird’s nest!
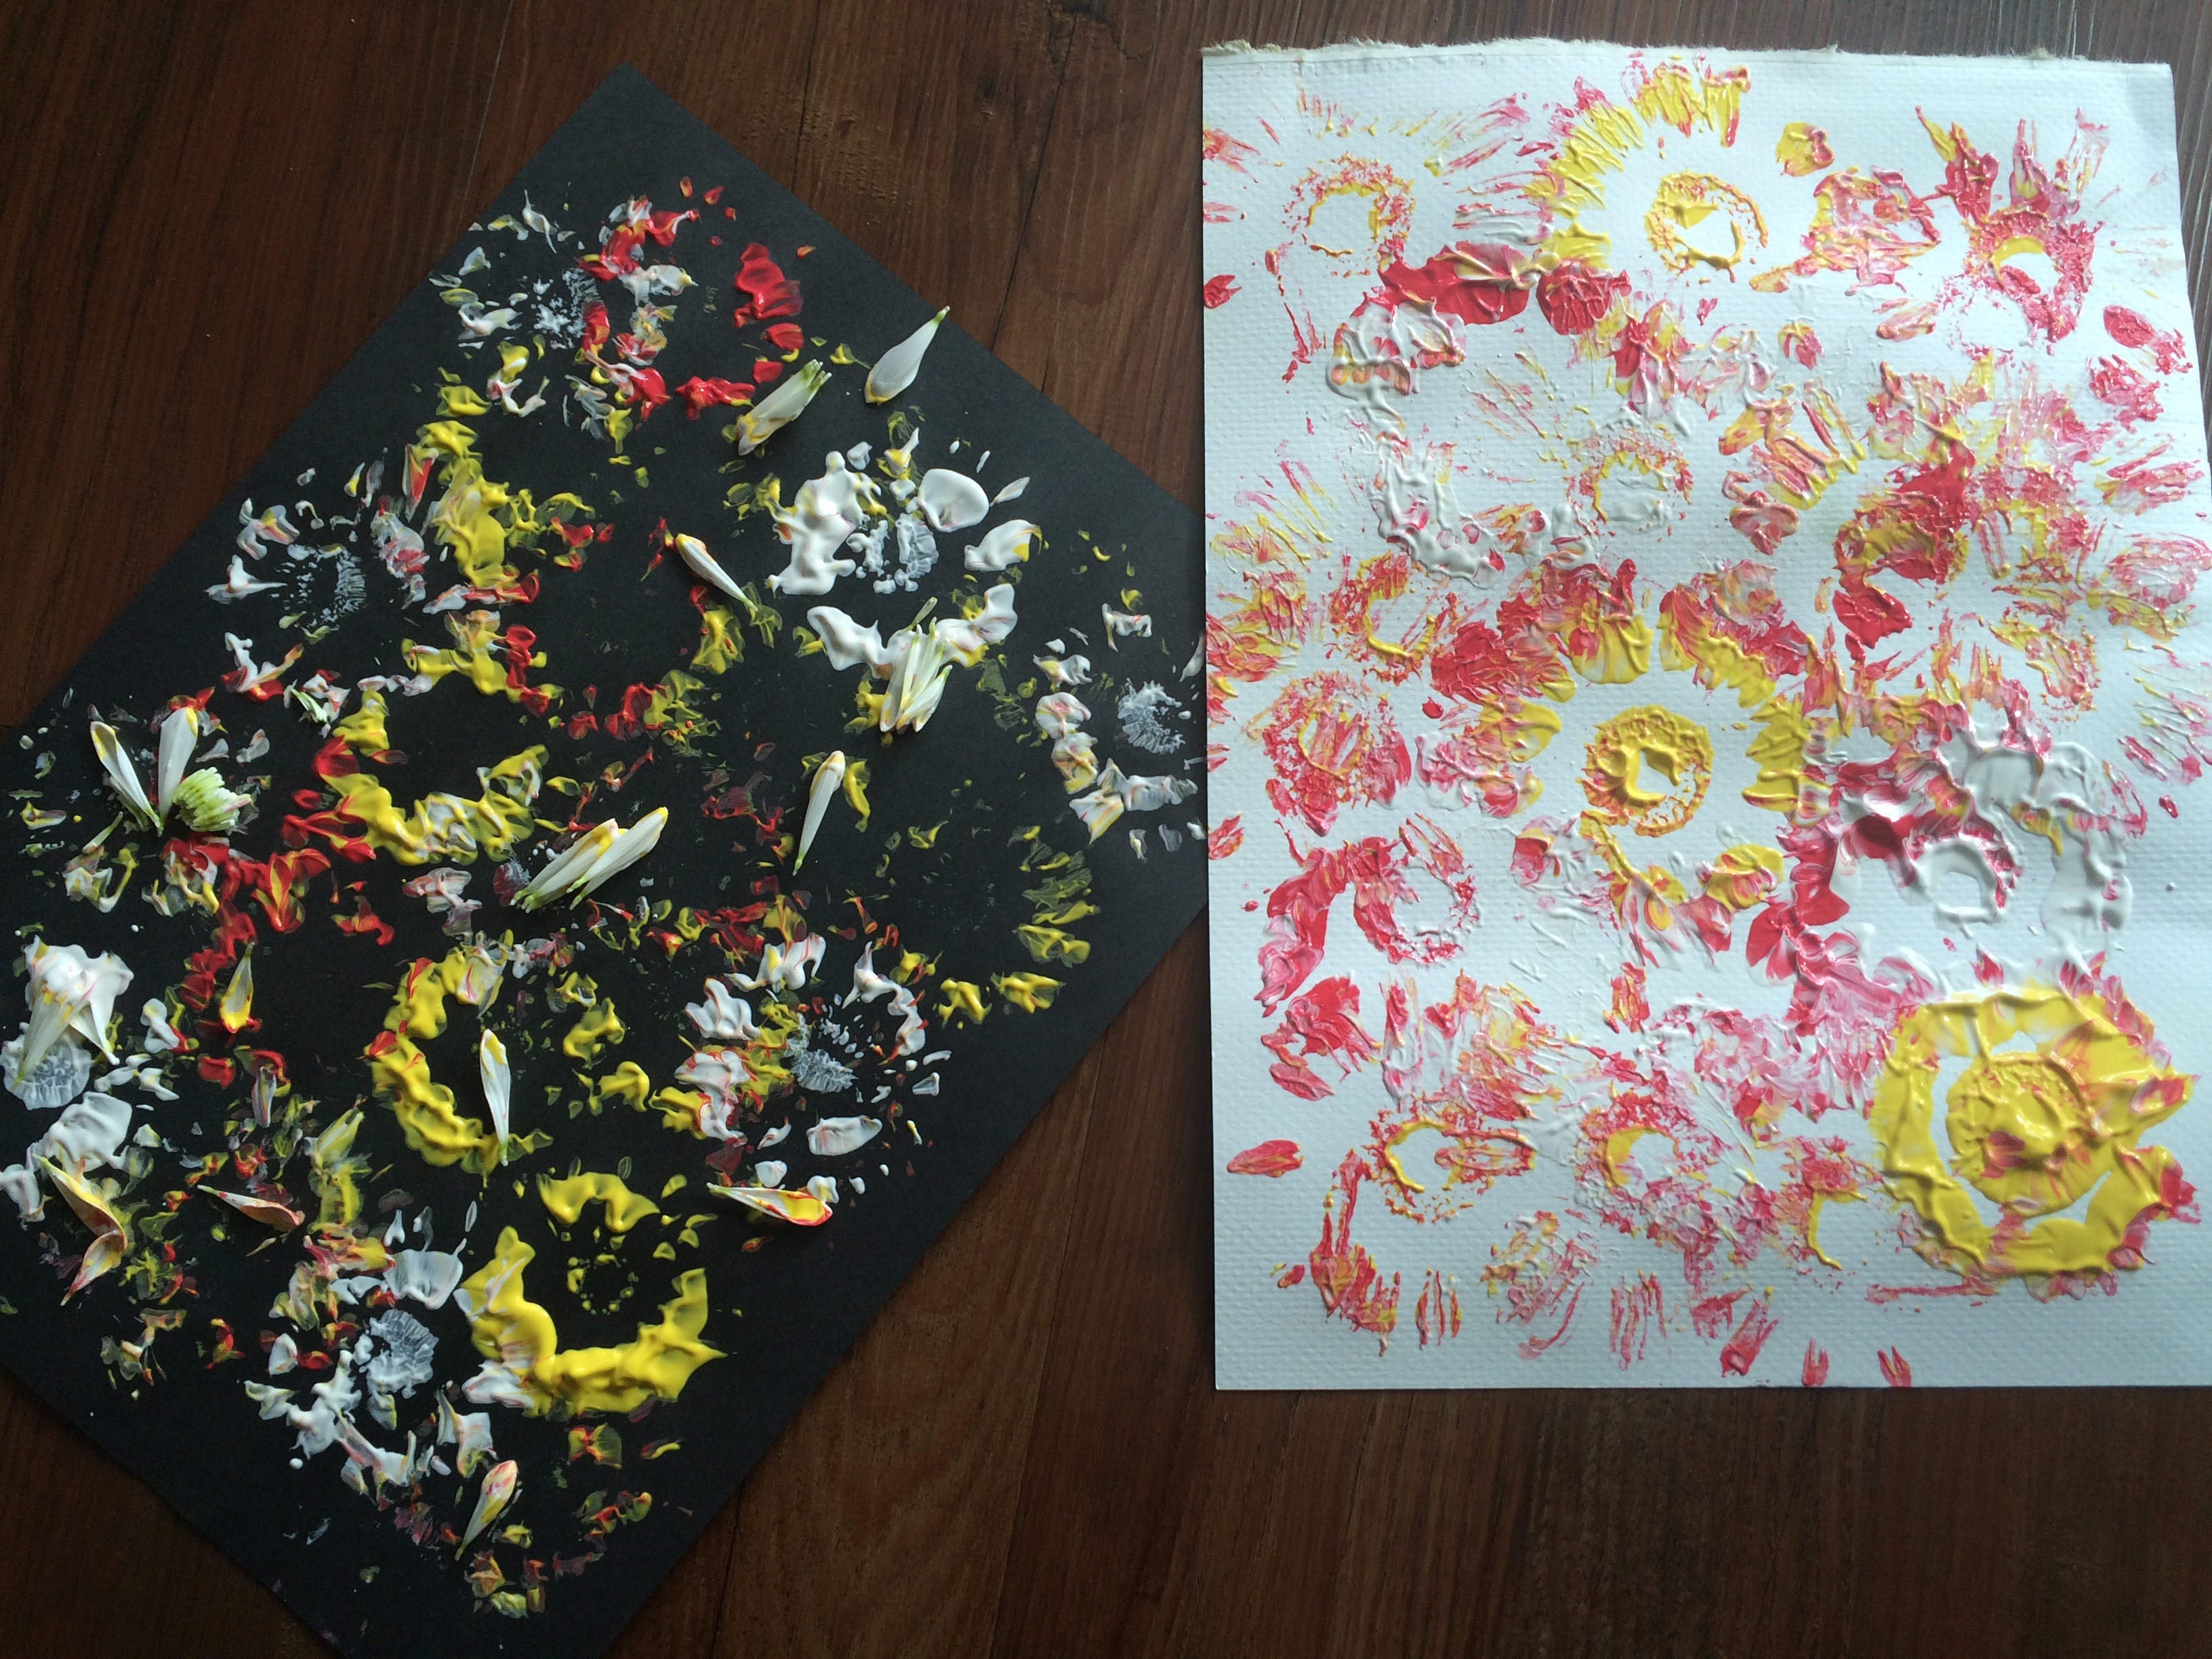
Flower Prints
How you make them:
-
Squeeze some paint on a plate in a squiggle. If you want to use more than one color, use different plates or trays for each color.
-
If the flowers have long stems, cut about half to three-fourths of the stem off but save them. These can be fun to paint with!
- Dip your flower heads into the paint and start creating! Try stamping, turning and moving the flowers in all different directions.
- Some of the petals might fall off — make this printmaking exploration into a collage!
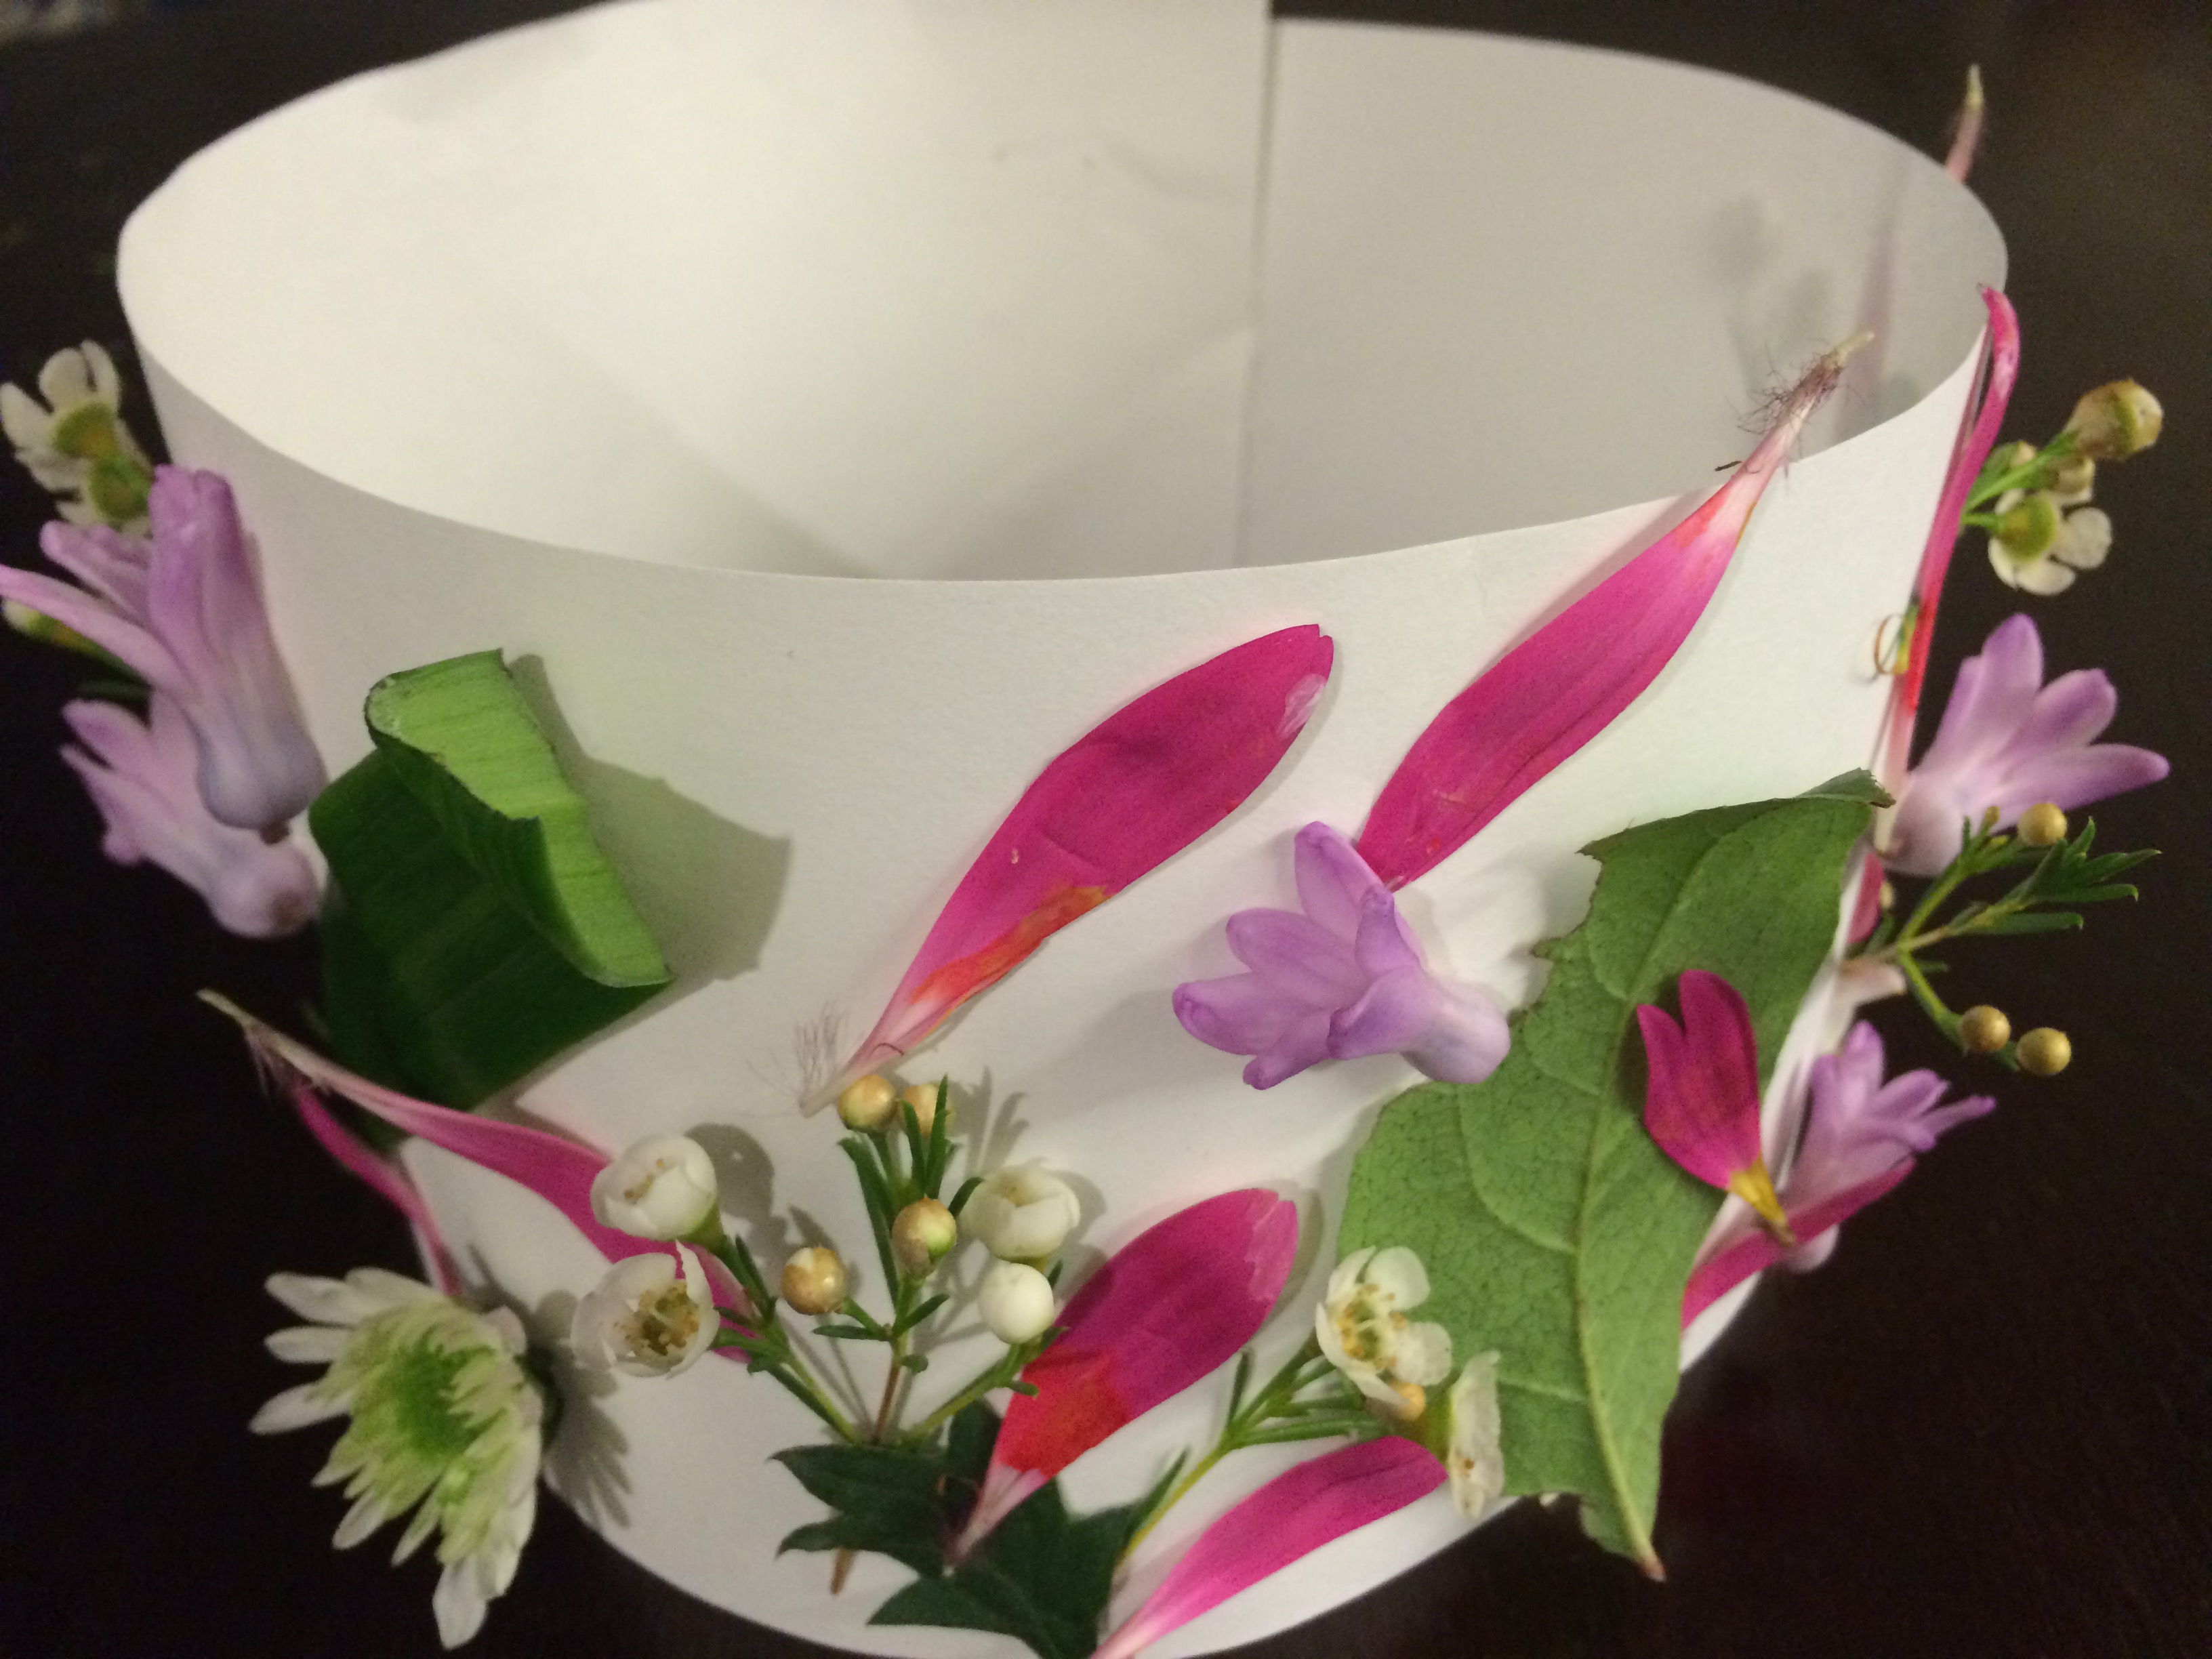
Nature Crowns
How you make them:
- Cut a strip of paper that’s about three- to four-inches wide. Measure it around your little one’s head before cutting the length.
- Once it’s measured, cut the paper but don’t tape it yet! Lay it out flat in front of your artist.
- If you’re using glue, you can either use a glue bottle or glue in a small bowl with a brush.
- Set out all of your nature treasures and get decorating! (Note: If you’re using glue, you’ll have to wait for the crown to dry before taping it around your child’s head. If you use the double-sided duct tape, there’s no dry time so have at it!)