
When middle-of-winter cabin fever strikes, it’s tough to find activities that will keep everyone happy. You don’t want to spend another day stuck inside the house, but it’s way too cold to go outside and explore… right?
Think again: Winter hikes with your kids can be just as fun as warm-weather ones. All it takes is a little creativity and a lot of warm layers (and maybe a thermos of hot cocoa, too!). So, don’t hang up your hiking boots when the first snowflakes fall — take your family on one of these snow-tastic adventures instead.
Look for animal tracks
You don’t have to be a zoologist (or a detective!) to figure out which animals are leaving their tracks behind in the snow. With a pocket ruler and a basic field guide, your family can observe, measure and identify many of the bird and mammal footprints you might come across on a winter hike. Be sure to check places where animals like to eat, drink and sleep, like icy streams, snow tunnels and tree hollows.
TIP: You can purchase a field guide online or at most outdoor recreation stores, or download a handy set of printable track identification cards from Exploration America.
Blow frozen bubbles
Bubbles may be synonymous with summertime, but they’re even more interesting in winter when the air gets extra cold (i.e., below freezing). Take any basic bubble solution and wand outside, then blow bubbles along a cold surface. Once frozen, the bubbles will display a beautiful frost pattern that is sure to fascinate kids. Bubbles blown into the air will freeze, too — but they might shatter when they hit the ground. If you don’t have any bubble solution left over from summer, you can make your own by mixing dish soap with distilled water and a little corn syrup or glycerin.
Make bannock over a fire
If you’re a family with some camping experience, you probably know how to safely start and contain a fire, but have you ever made the super simple bread called “bannock” over an open flame?
Here's how: At home, mix 1 cup of flour with 1 teaspoon of baking powder, 1/4 teaspoon of salt and 2 tablespoons of powdered milk in a zip-close bag (add a few dashes of cinnamon and sugar to make this a sweet treat).
Once you’re out in the woods, find some medium-width sticks or branches; then add 1 tablespoon of oil or water to your dry ingredients and knead it all together until the dough is smooth and not sticky. Roll the dough into a rope, wrap it around the end of your stick in a spiral shape, smooth and compress the dough down into a 1/2-inch-thick breadstick and then roast it over the fire for about 10 minutes.
Build a snow cave
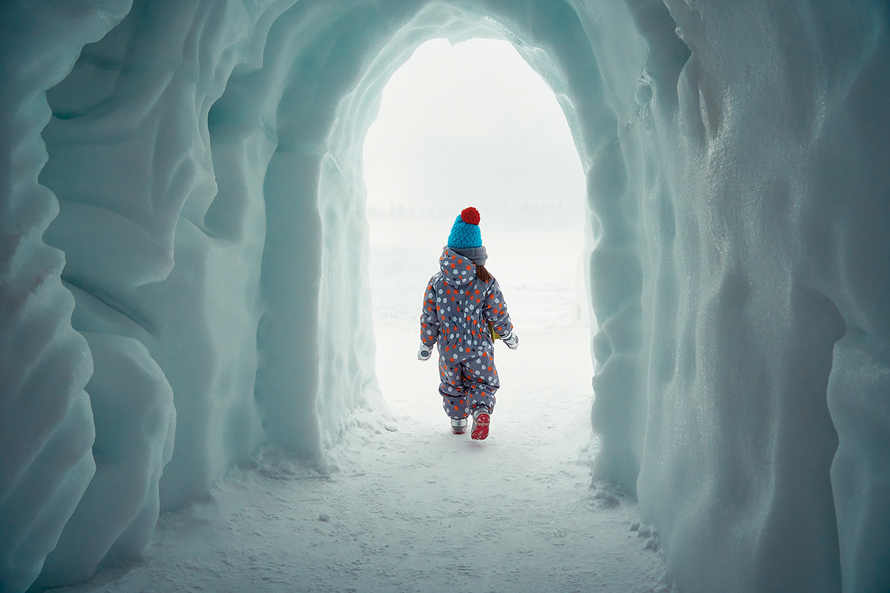
When the snow has been falling — and accumulating — on the ground for weeks, take advantage of those sky-high snowbanks by building a snow cave. Look for a drift that’s at least 5 feet high and made of snow that’s not too light or powdery.
Use a small shovel to dig a tunnel into the drift, then work to hollow out a dome at the top and pack the snow tightly along the roof and entrance. The cave makes a perfect spot for a warm drink and yummy snack, but remember that children should not be left unsupervised inside (for safety reasons).
Study snow science
Tuck a few magnifying glasses into your gear pack so you can get up close and personal with all the frozen precipitation on your trek. Both snowflakes and icicles look especially cool when studied under a magnifying glass; ask your child to find bubbles, cracks and patterns in the ice, and to identify shapes or count crystal points in the flakes.
Tip: Bring along pieces of black construction paper to make viewing easier. Keep the paper cold so the snowflakes won’t melt right away.
Whatever your wintertime adventure, remember that before you head out on any of these winter-weather treks, prepare for the elements. Bring plenty of warm drinks, as well as snacks high in carbohydrates and protein; pay close attention to the weather forecast and how many hours of daylight you’ll have; know your planned route or trail well and bring a map, and dress appropriately for the cold weather.
Bonus tips: Dressing warm for winter play
You spend a half-hour getting your child ready to play in the snow, and 10 minutes later, they’re complaining about cold fingers and wet socks and begging to go back inside.
How can you keep your child warm and comfortable outside when temperatures drop below freezing? The secret is layering.
Start with a smart base layer, one that fits snugly against the skin, not too warm and made of a material that wicks away sweat. Cotton absorbs moisture, so avoid waffle-knit or thermal underwear and stick with a pair of long johns that are 100 percent polyester.
Add an insulating middle layer of polar or performance fleece, which will trap heat against the body. A quarter-zip fleece top and separate pants go on easily, but make sure both items are 100 percent polyester fleece (not cotton lined with fleece, like many sweatpants and sweatshirts are).
Top off with a waterproof outer layer, either an all-in-one snowsuit or one composed of individual items (like a synthetic-fill ski jacket or lined windbreaker paired with snow pants or a snow bib). Whatever you choose, the pieces must be waterproof, not water-resistant; waterproof materials will prevent wet snow from soaking through to the base and middle layers, but water-resistant items won’t do the job quite as well.
Finally, don’t forget about your child’s hands, feet and head! Wool socks and waterproof boots will keep toes dry and toasty; waterproof mittens with extra-long cuffs will keep wet snow out of sleeves; and a fleece or wool hat that covers your child’s ears will lock in body heat.


