
Keeping the kids entertained and learning at the same time is a challenge — but it can be done! We’ve rounded up 10 fun and messy science experiments that you can do outside, right in your own backyard. Your kids can create bouncy balls and baking-soda volcanoes, explode sandwich bags and create electricity from lemons. They won’t even realize they are learning because they’ll be having so much fun.
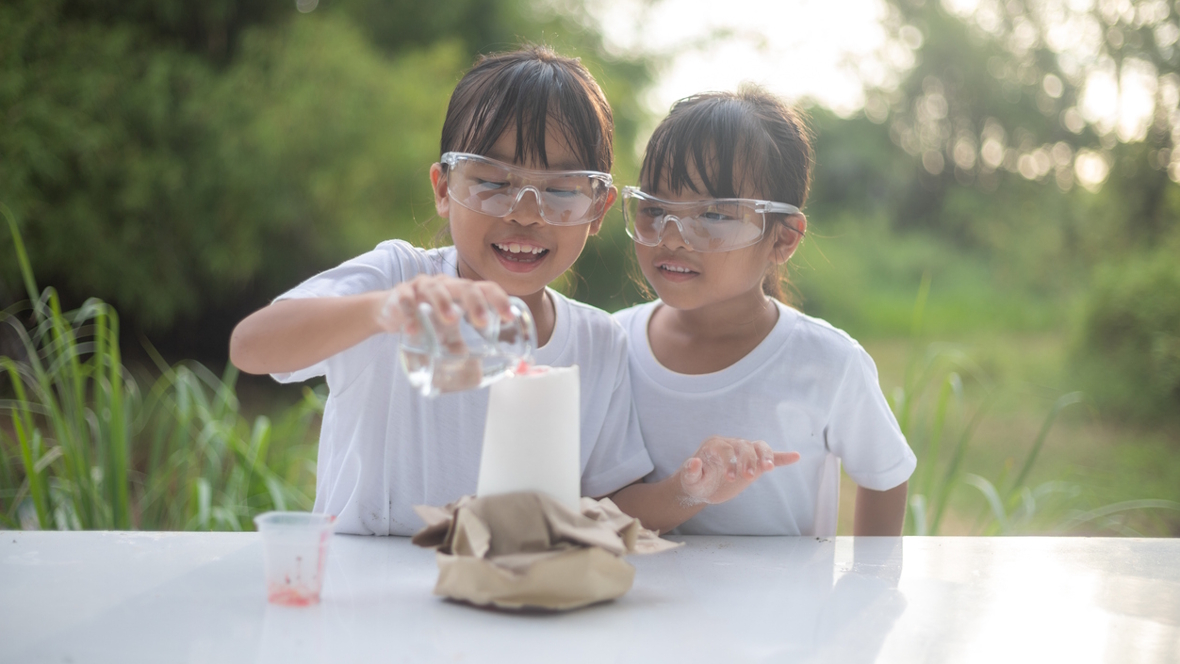
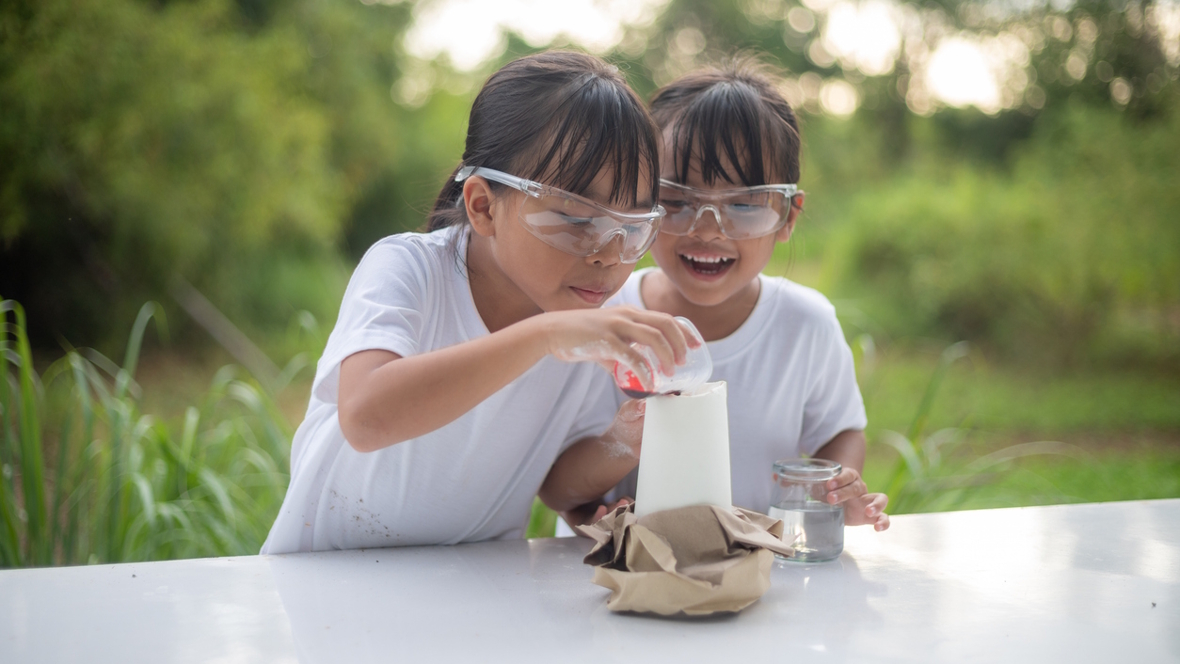
Squirt gun volcanoes
Allison over at No Time for Flash Cards came up with this great mash-up of two classics: squirt guns and baking-soda volcanoes. This experiment is definitely for outdoors. Adding food color to the baking soda in the pan makes this project even more fun! When you squirt the mixture with a vinegar-filled squirt gun, rainbow mountains will grow. If you don’t allow toy guns, she suggests delivering the vinegar by using droppers, turkey basters or even just pouring in the vinegar from a cup in a thin stream.
Science lesson: The baking soda, which is a base, reacts with acidic vinegar, releasing carbon dioxide, causing those bubbly hills.
Carbon sugar snake
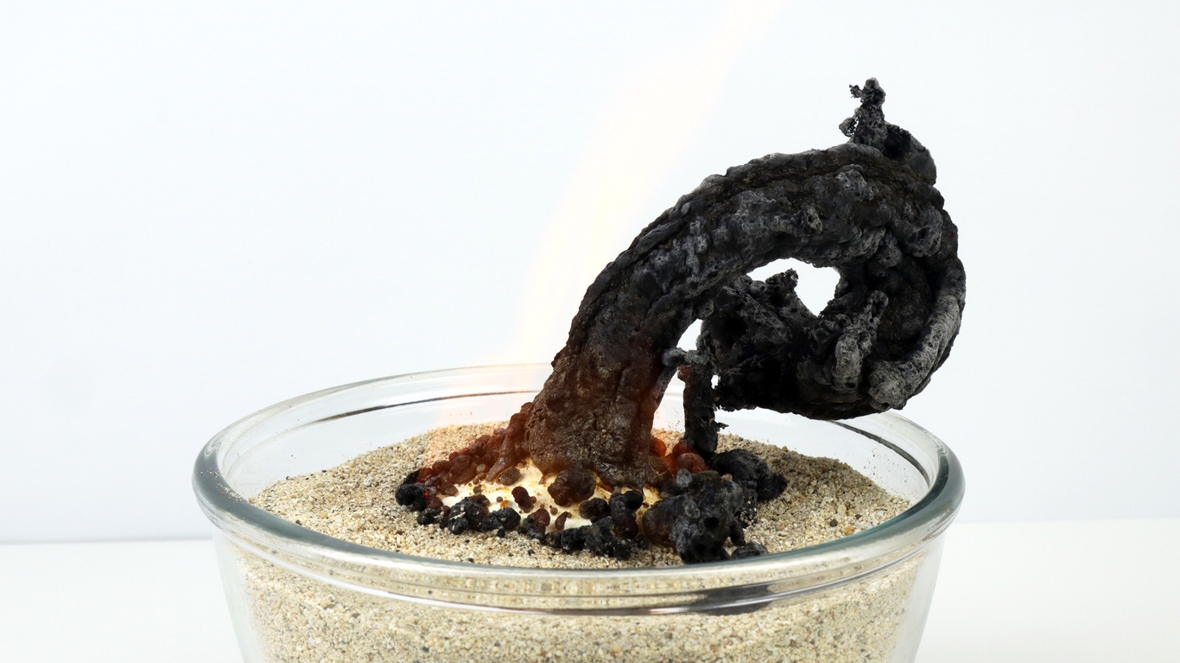
When I was little I remember loving to watch a Black Snake firework grow and creep across the sidewalk. Did you know you can make your own, any time of the year? It only takes a few common household ingredients (sugar, baking soda and some sand) to bring your own slithery carbon sugar snake to life. This experiment involves fire, so an adult needs to be involved and present the whole time. But we bet you’ll get a kick out of it just as much as the kids!
Science lesson: The experiment demonstrates the chemical reaction that happens when sugar and baking soda are heated together. The heat breaks down the sugar, releasing carbon dioxide gas, which causes the black “snake” to grow and puff up. The baking soda helps the reaction by releasing more gas and creating the foamy, ash-like structure.
Rubber bands around a watermelon
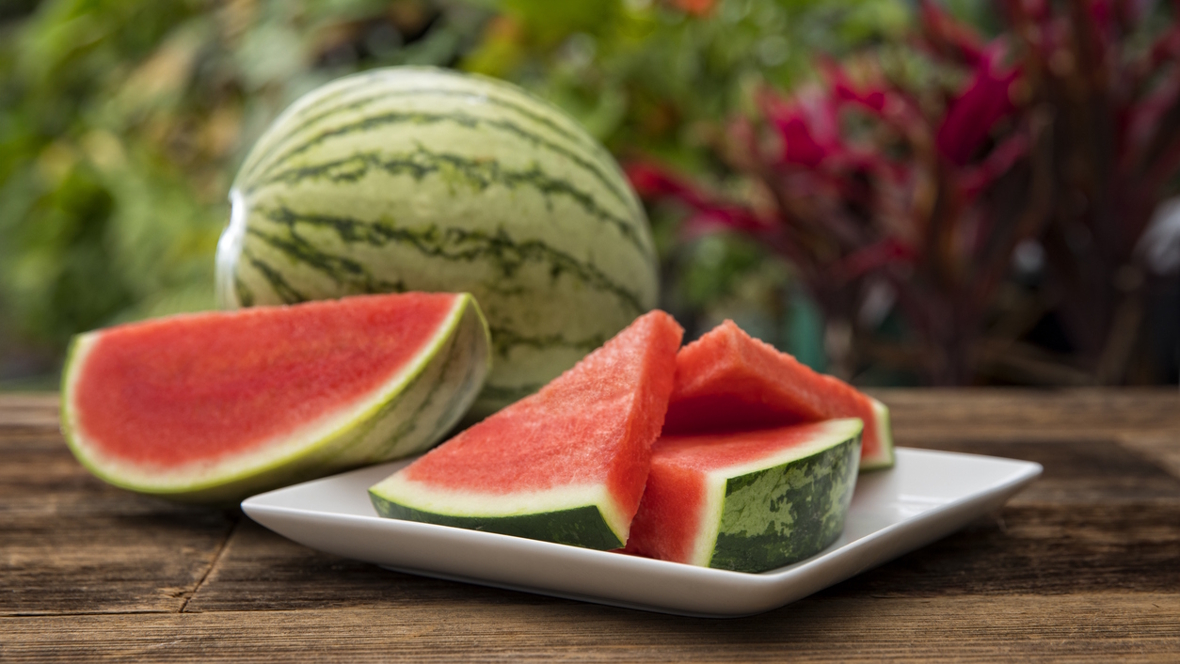
If you are up for a big mess and have a lot of time to fill, this experiment is sure to be a hit. It’s pretty straightforward — simply put rubber bands around a watermelon until it explodes. Each rubber band applies a small amount of pressure, leading to the eventual explosion. Be sure to have a lot of space for this one as the fruit and juice will fly in all directions. And bring your patience, it can take hundreds of rubber bands before the big payoff.
Science lesson: It’s all about pressure! When you wrap rubber bands around a watermelon, each band adds pressure by squeezing the fruit tighter. As more bands are added, the pressure builds up inside the watermelon’s rind, which is strong but not unbreakable. Eventually, the force becomes too much — and the watermelon bursts in a juicy explosion!
Grow your own crystal geodes
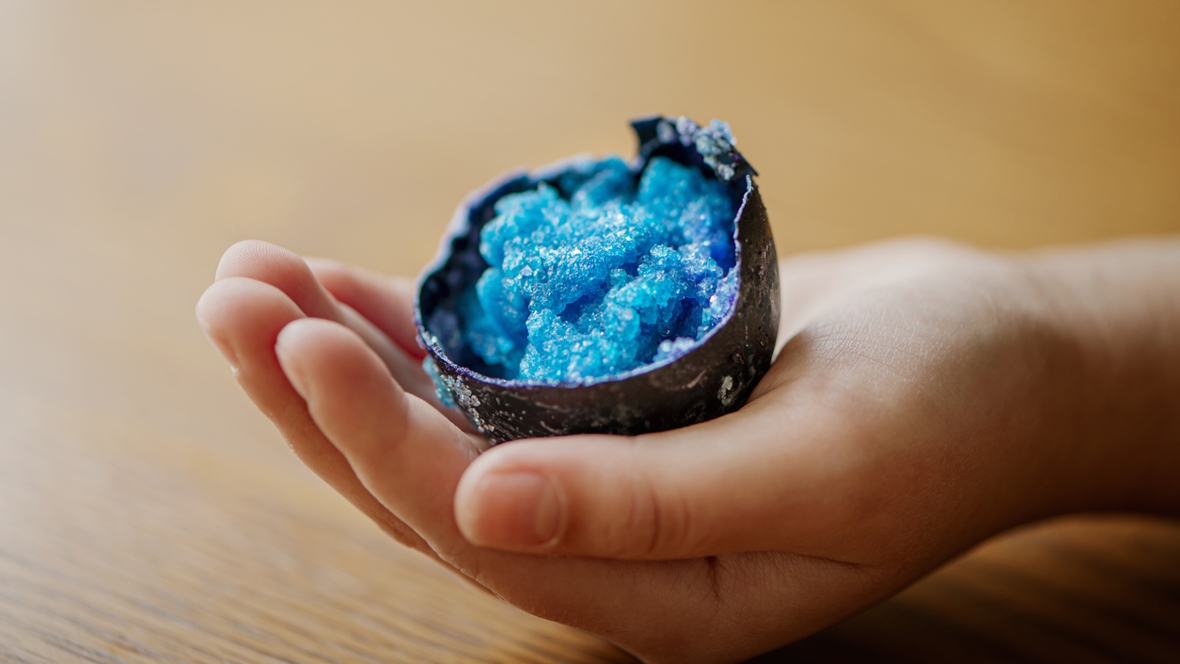
This project is best for older kids, because it requires cooking and patience! Tara at the Feels Like Home blog gives a wonderfully detailed tutorial on how to create these beautiful “geodes” using eggshells, alum powder and glue. We especially like the clear crystals on the colorful plastic Easter eggs — what a great way to upcycle those eggs!
Science lesson: Some substances naturally form crystals such as salt, sugar, alum and snow. When one of these substances is dissolved in liquid, the molecules are attracted to one another in an ordered way, and they come together to form geometric crystals.
Exploding sandwich bag
Because we just can’t get enough of baking soda and vinegar, here’s another great way to demonstrate how the two elements react to form carbon dioxide. Laura at the Come Together Kids blog shows how to make a resealable plastic bag explode. Follow her directions and watch the kids ooh and ahh as the bag fills with gas and then pops! Seriously, what is more fun than a safe explosion?
Science lesson: The acid in the vinegar reacts with the base in the baking soda, producing carbon dioxide gas.
Turn a penny green
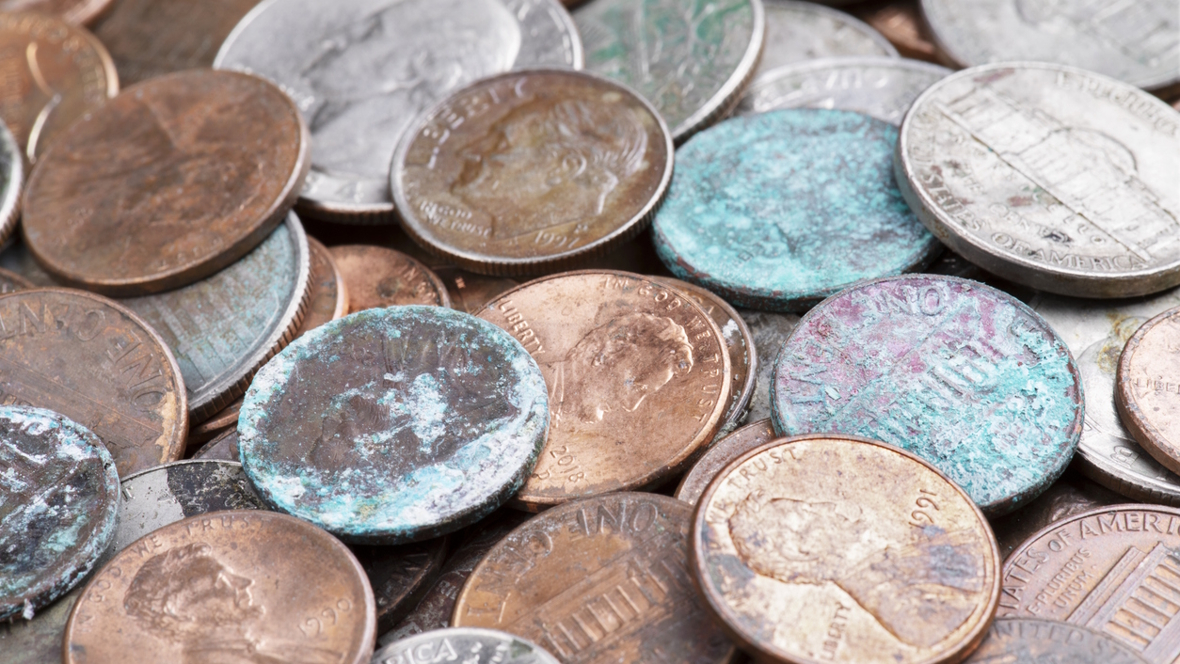
This post from Buggy and Buddy includes a free printable graph to record scientific observations. Turning a copper penny green is a simple yet rewarding experiment that is great for any kid older than age 3. Kids can observe the pennies over several days and track the color changes.
Science lesson: The acid in the vinegar helps oxygen in the air react more quickly with the copper metal. The green color is a compound called malachite.
Magic hatching dinosaur eggs
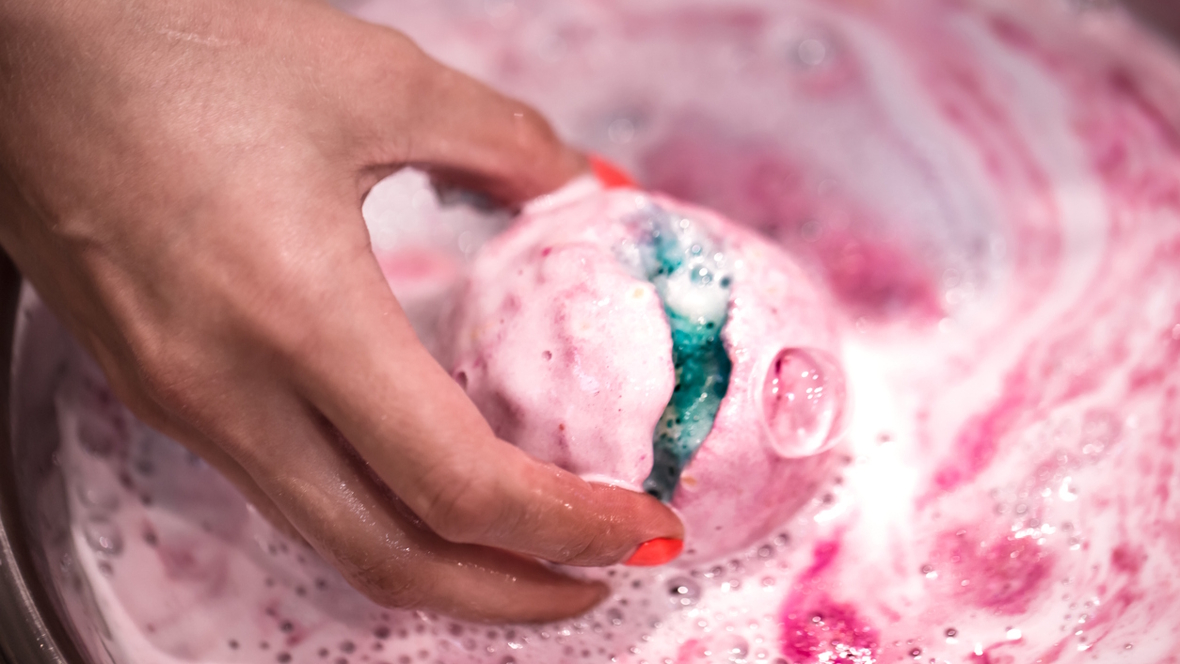
Asia over at the Fun at Home With Kids blog made these dinosaur eggs as bath bombs, but we think these would be fun to “hatch” outside in water. You make dough from citric acid, baking soda, oil and liquid watercolors, then form eggs around small plastic dinosaurs. Check out her post for the full instructions on how to create eggs that will fizz and hatch when they hit the water!
Science lesson: The baking soda, when combined with citric acid and water, releases carbon dioxide. This is similar to the baking soda-vinegar reaction, except it smells better! The eggs will feel cold to the touch because this is an endothermic reaction.
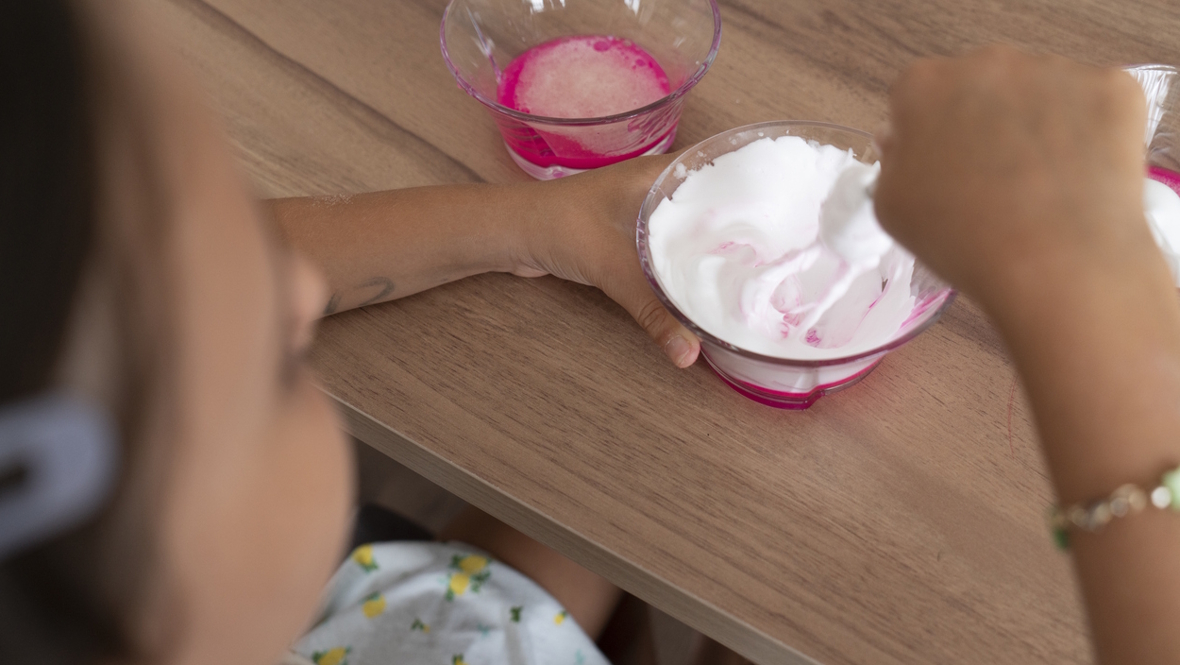
Make bouncy balls
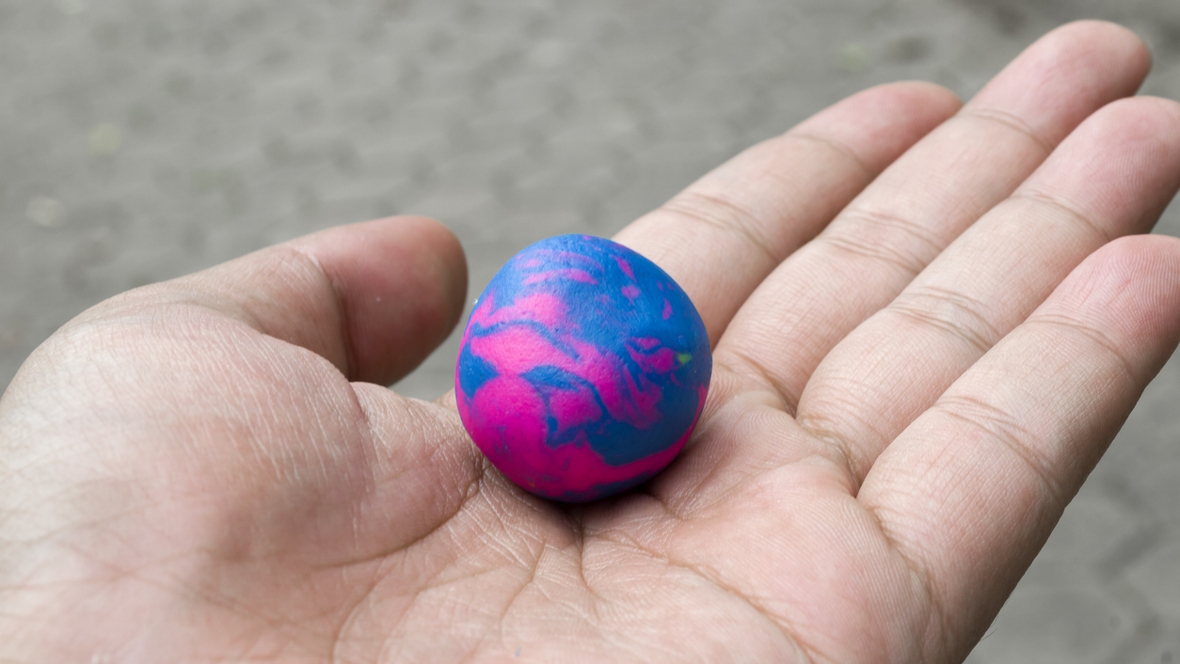
Making bouncy balls is a great afternoon project and a lesson in polymers! These are made from glue, cornstarch and borax, and you can add food coloring to make them bright. Bounce over to the blog called A Few Shortcuts for this great tutorial.
Science lesson: White glue is made of a polymer called PVC. When mixed with the boric acid in borax, the polymers crosslink and form chains like a big spider web. The starch in the cornstarch gets trapped in the chains and makes the substance compact and, well, bouncy.
Make a lemon battery
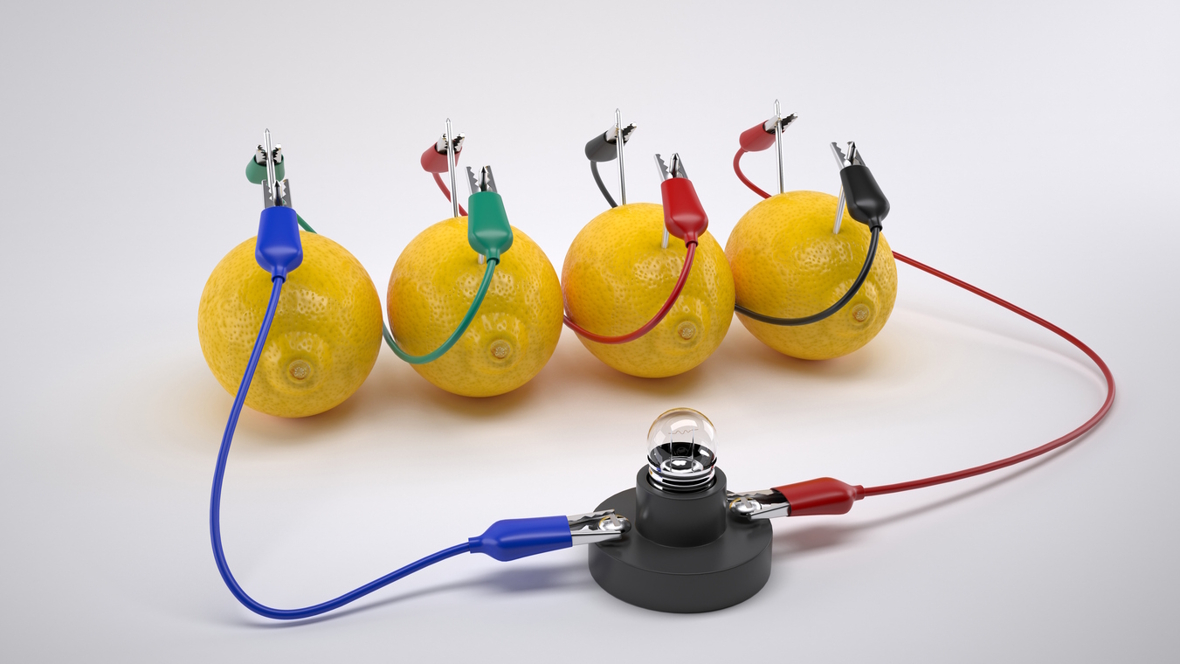
This fun experiment is a great way to demonstrate the principals of electric current for older kids. You’ll need a small device to “power up,” plus lemons and a few items from the hardware store. Be sure to have your phone ready to capture the expressions on your kids’ faces when they see it work! Check out Holly and Rachel’s blog for the full instructions.
Science lesson: The citric acid in the lemon reacts with the two different metals, pushing the ions in one direction, creating an electric current.
Make gigantic bubbles
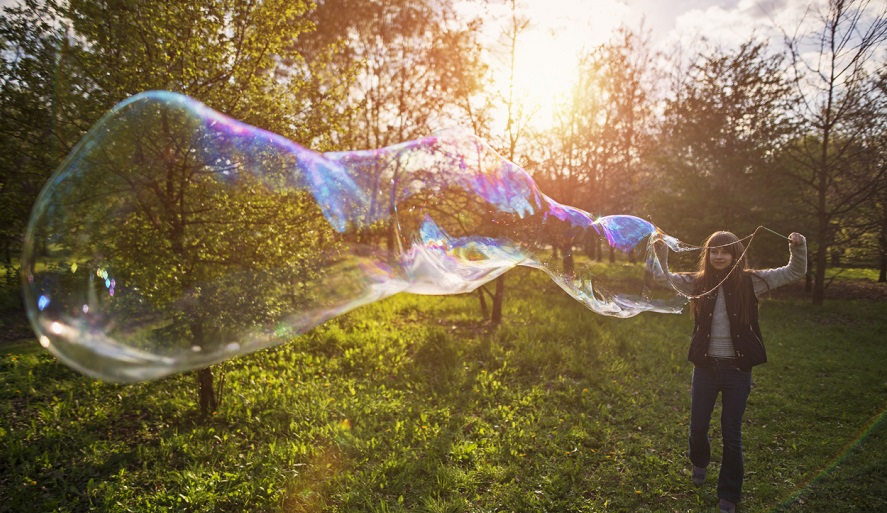
What’s better for outdoor play than making bubbles? Giant bubbles! The Enchanted Tree offers a tutorial for creating your own wand to make humongous bubbles. And, because you’ll need lots of bubble solution, she includes links to good bubble solution recipes.
Science lesson: Bubbles form because of the surface tension in water. A bubble has three layers: a thin layer of water sandwiched in between two layers of soap molecules. A single bubble will always try to become a sphere, because it is the easiest shape to form.
More educational fun:
Editor’s note: This article was originally published several years ago and was updated most recently on June 5, 2025, by ParentMap’s associate editor, Kari Hanson, with new experiments and a fact-check.