 One of my favorite things in the world is a pumpkin. Not only is this winter squash the quintessential ingredient in the majority of fall culinary delights, but it's also the undisputed champion of Halloween.
Whether plastic and used to cart around goodies gleaned from trick-or-treating, or hollowed out and glowing on your front porch, the great pumpkin wears many hats. Today, let's talk about a big Halloween activity: pumpkin carving.
Carving pumpkins is a time-honored fall tradition, but when you have little ones around, there are special considerations for making sure the activity stays safe and fun for everyone. For starters, although it will be a few years before my husband and I carve pumpkins with our son (I'm due with our first in January), I do have nieces and nephews and when you're carving with kids under the age of 7, I recommend using a foam craft pumpkin as opposed to a real pumpkin.
Not only are these much less messy (no internal pumpkin guts), but they also last indefinitely. This is a far cry from those time-consuming designs you might carve into a real pumpkin which are sure to become mushy or rotten after a week or so. With an artificial pumpkin, you can make the designs as intricate or simple as you like without the worry of your artistry having a shelf life.
At the same time, craft pumpkins use artificial candles, and an inexpensive, energy-efficient LED tea light is the perfect source of illumination. You can purchase ones that flicker for that real candle effect without the danger of an active flame burning within the pumpkin's depths; this facet of using a foam pumpkin makes them ideal for use around kiddos.

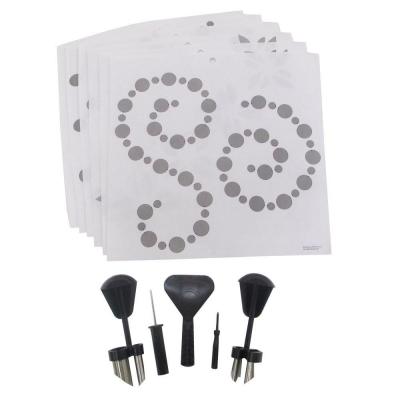
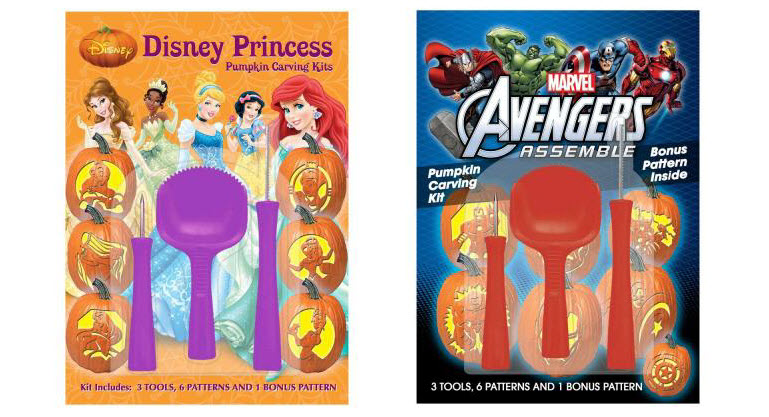
And back to carving with kids, consider the ease of using a punch kit and patterned designs instead of knives and saws.
 You simply place the paper design on the pumpkin, drive in the appropriate punch tool and twist it to remove the foam. Kits like these are great for little fingers still working on their minute manipulation skills and hand-eye coordination.
For older kids and creative adults alike, in addition to your traditional wood carving tools – which will carve a foam pumpkin just as well as a real pumpkin – you might consider a Dremel pumpkin carving tool to create a more elevated aesthetic to your kid-friendly pumpkin designs.
In general, here are some pumpkin carving childproofing tips:
- As with any activity involving children, never leave kids unattended with sharp objects, pumpkin carving tools included.
- You can smooth out the jagged foam edges left by the wood carving tools using the sanding bit on the Dremel tool. This helps them to look much more realistic and natural instead of like you've been hacking into a foam pumpkin!
- Another great aspect of craft pumpkins is the ability to paint them on the outside. If you opt to coat your pumpkin with paint, do so before you carve. If you run into any chips as you carve your design, do not pull on the edges as they will peel away the paint from the portions that you want to keep covered. Instead, use a piece of fine sanding paper or the Dremel sanding bit to smooth the edges. If you (or your little carvers) do run into any paint chips, you can touch up the edges with a small craft brush at the end of your carving experience.

Don't forget about printable carving templates you can find online and separate carving kits that are perfect for kids.
 What other childproofing secrets have you discovered along your quest for a happy Halloween?
With a background in theater arts, creating Holiday décor is right up Rheney Williams' alley. She loves to do Halloween projects and write about them for The Home Depot. To find a selection of Halloween Decorations and pumpkins, go to homedepot.com.


