
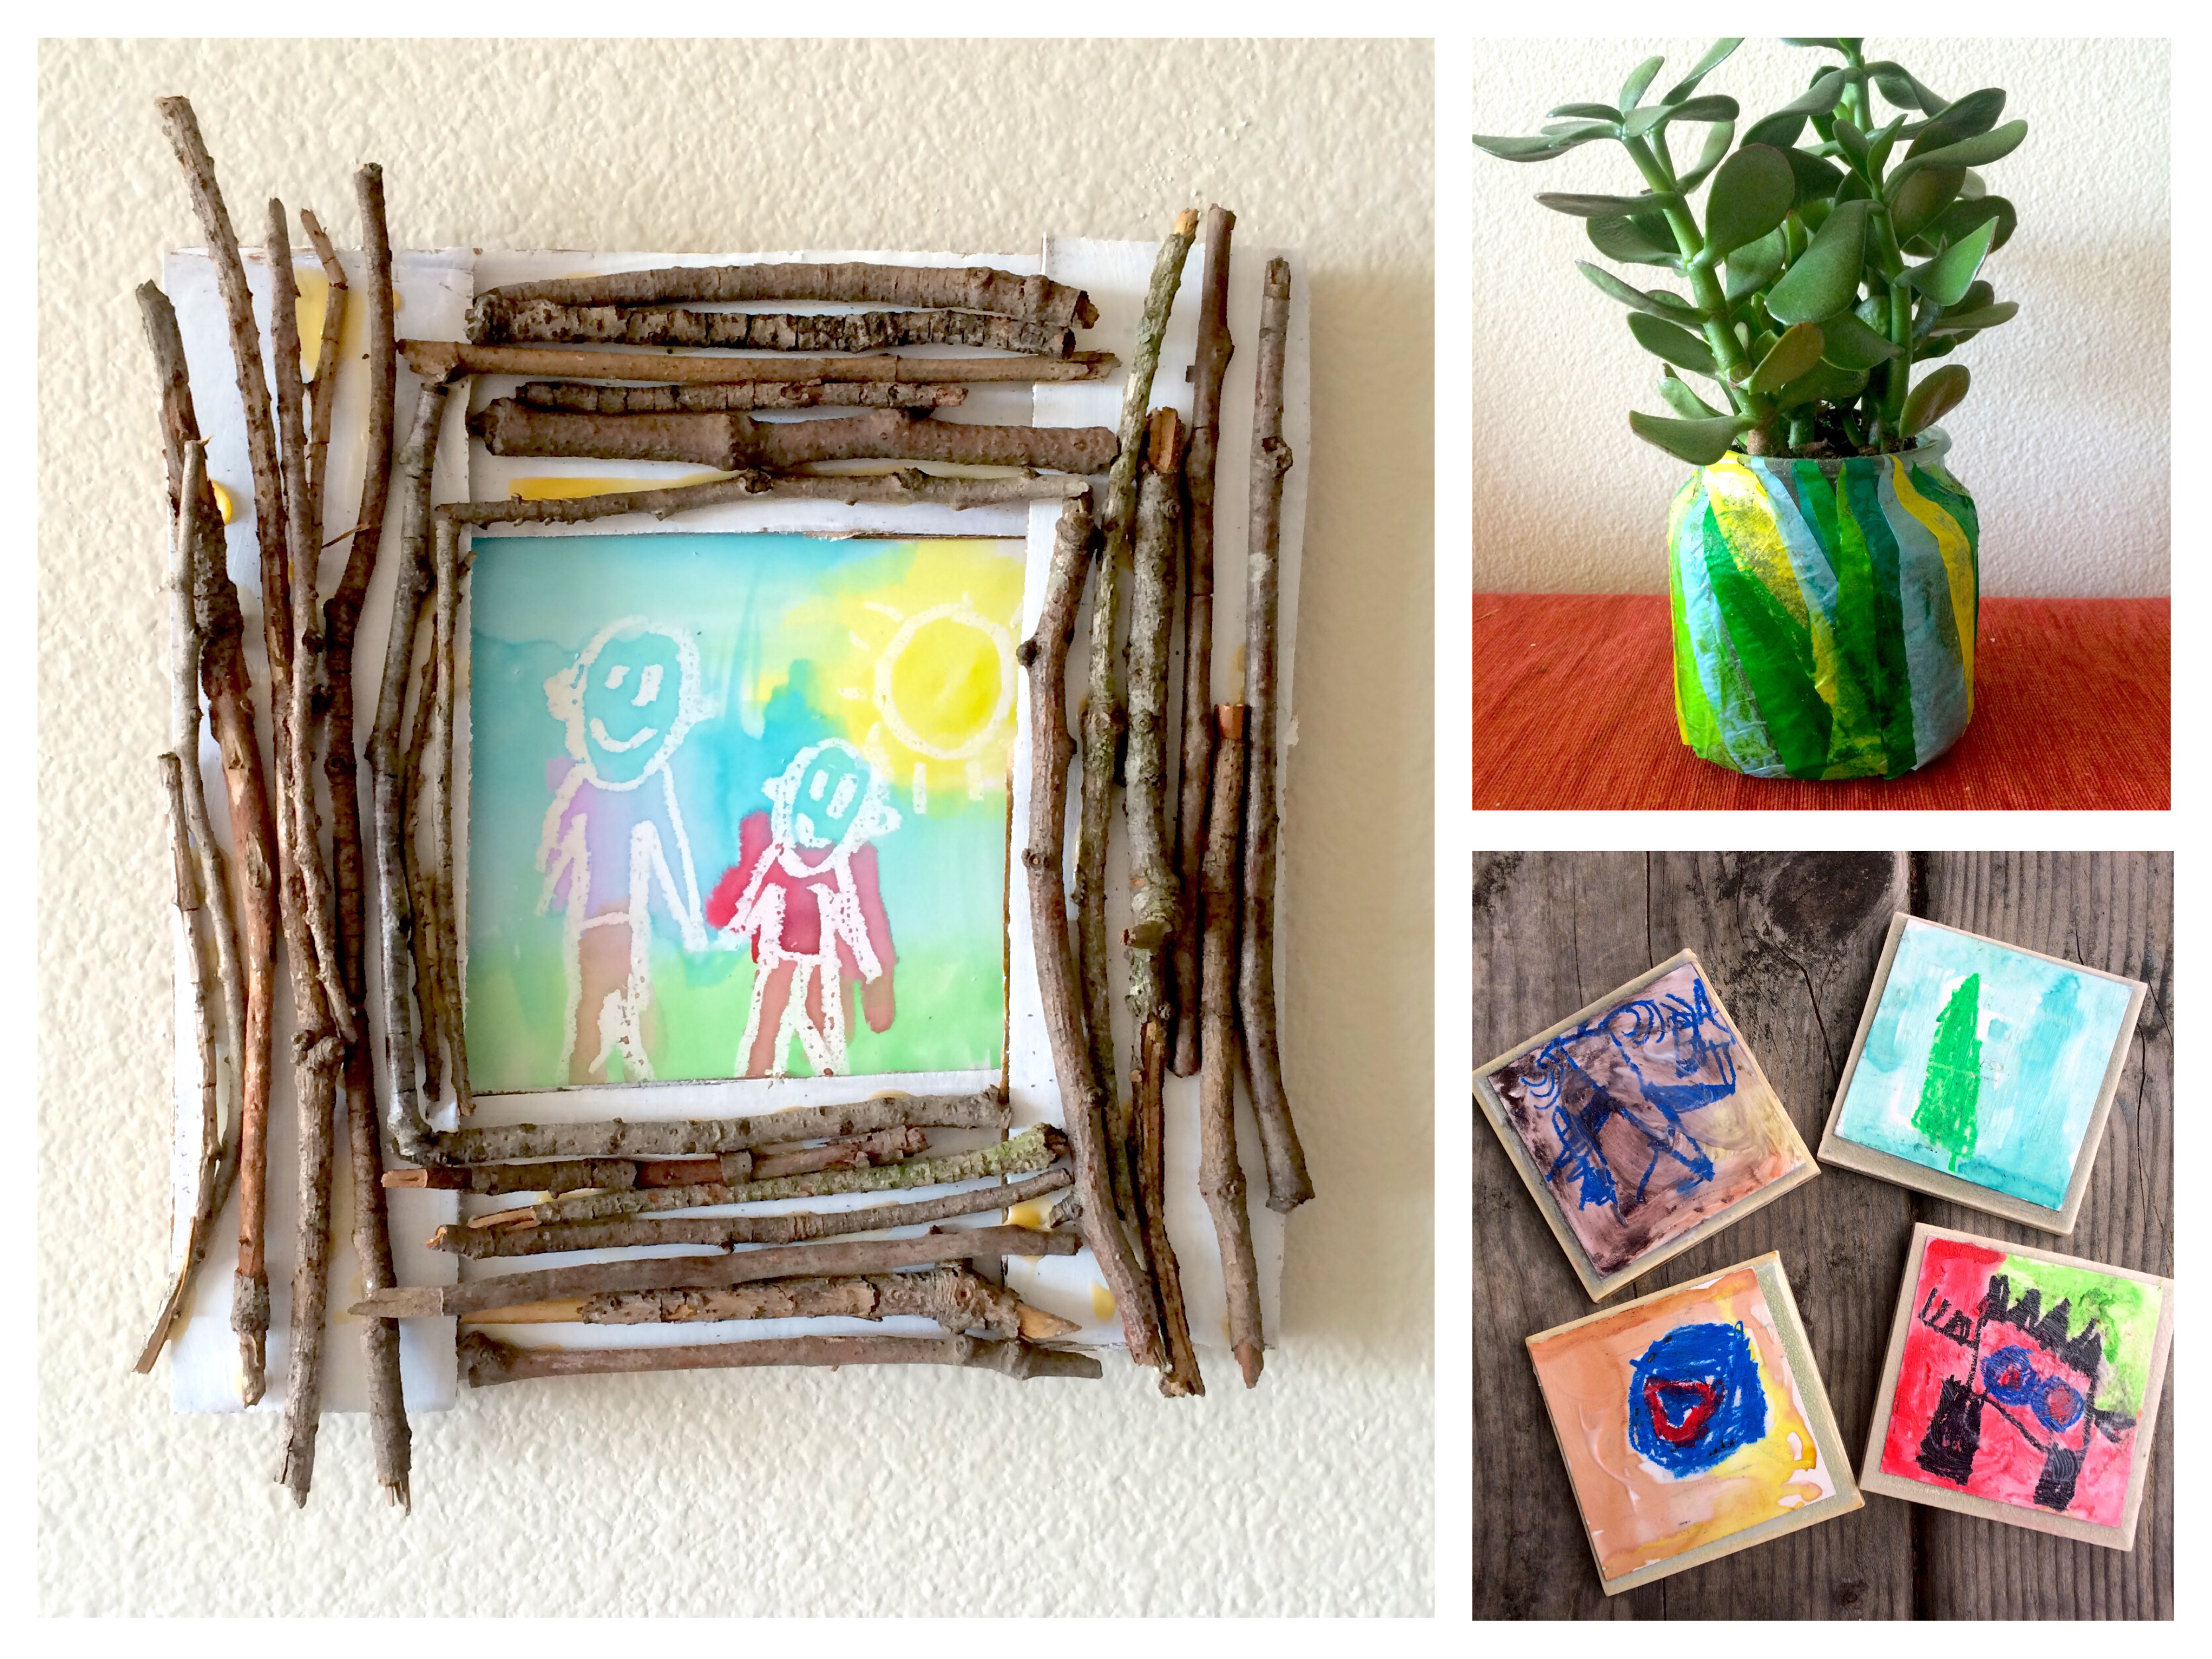
Looking for some meaningful gift ideas for your child to make? Well, look no further! We have a few ideas that may just be the trick, and they're easy to pull off.
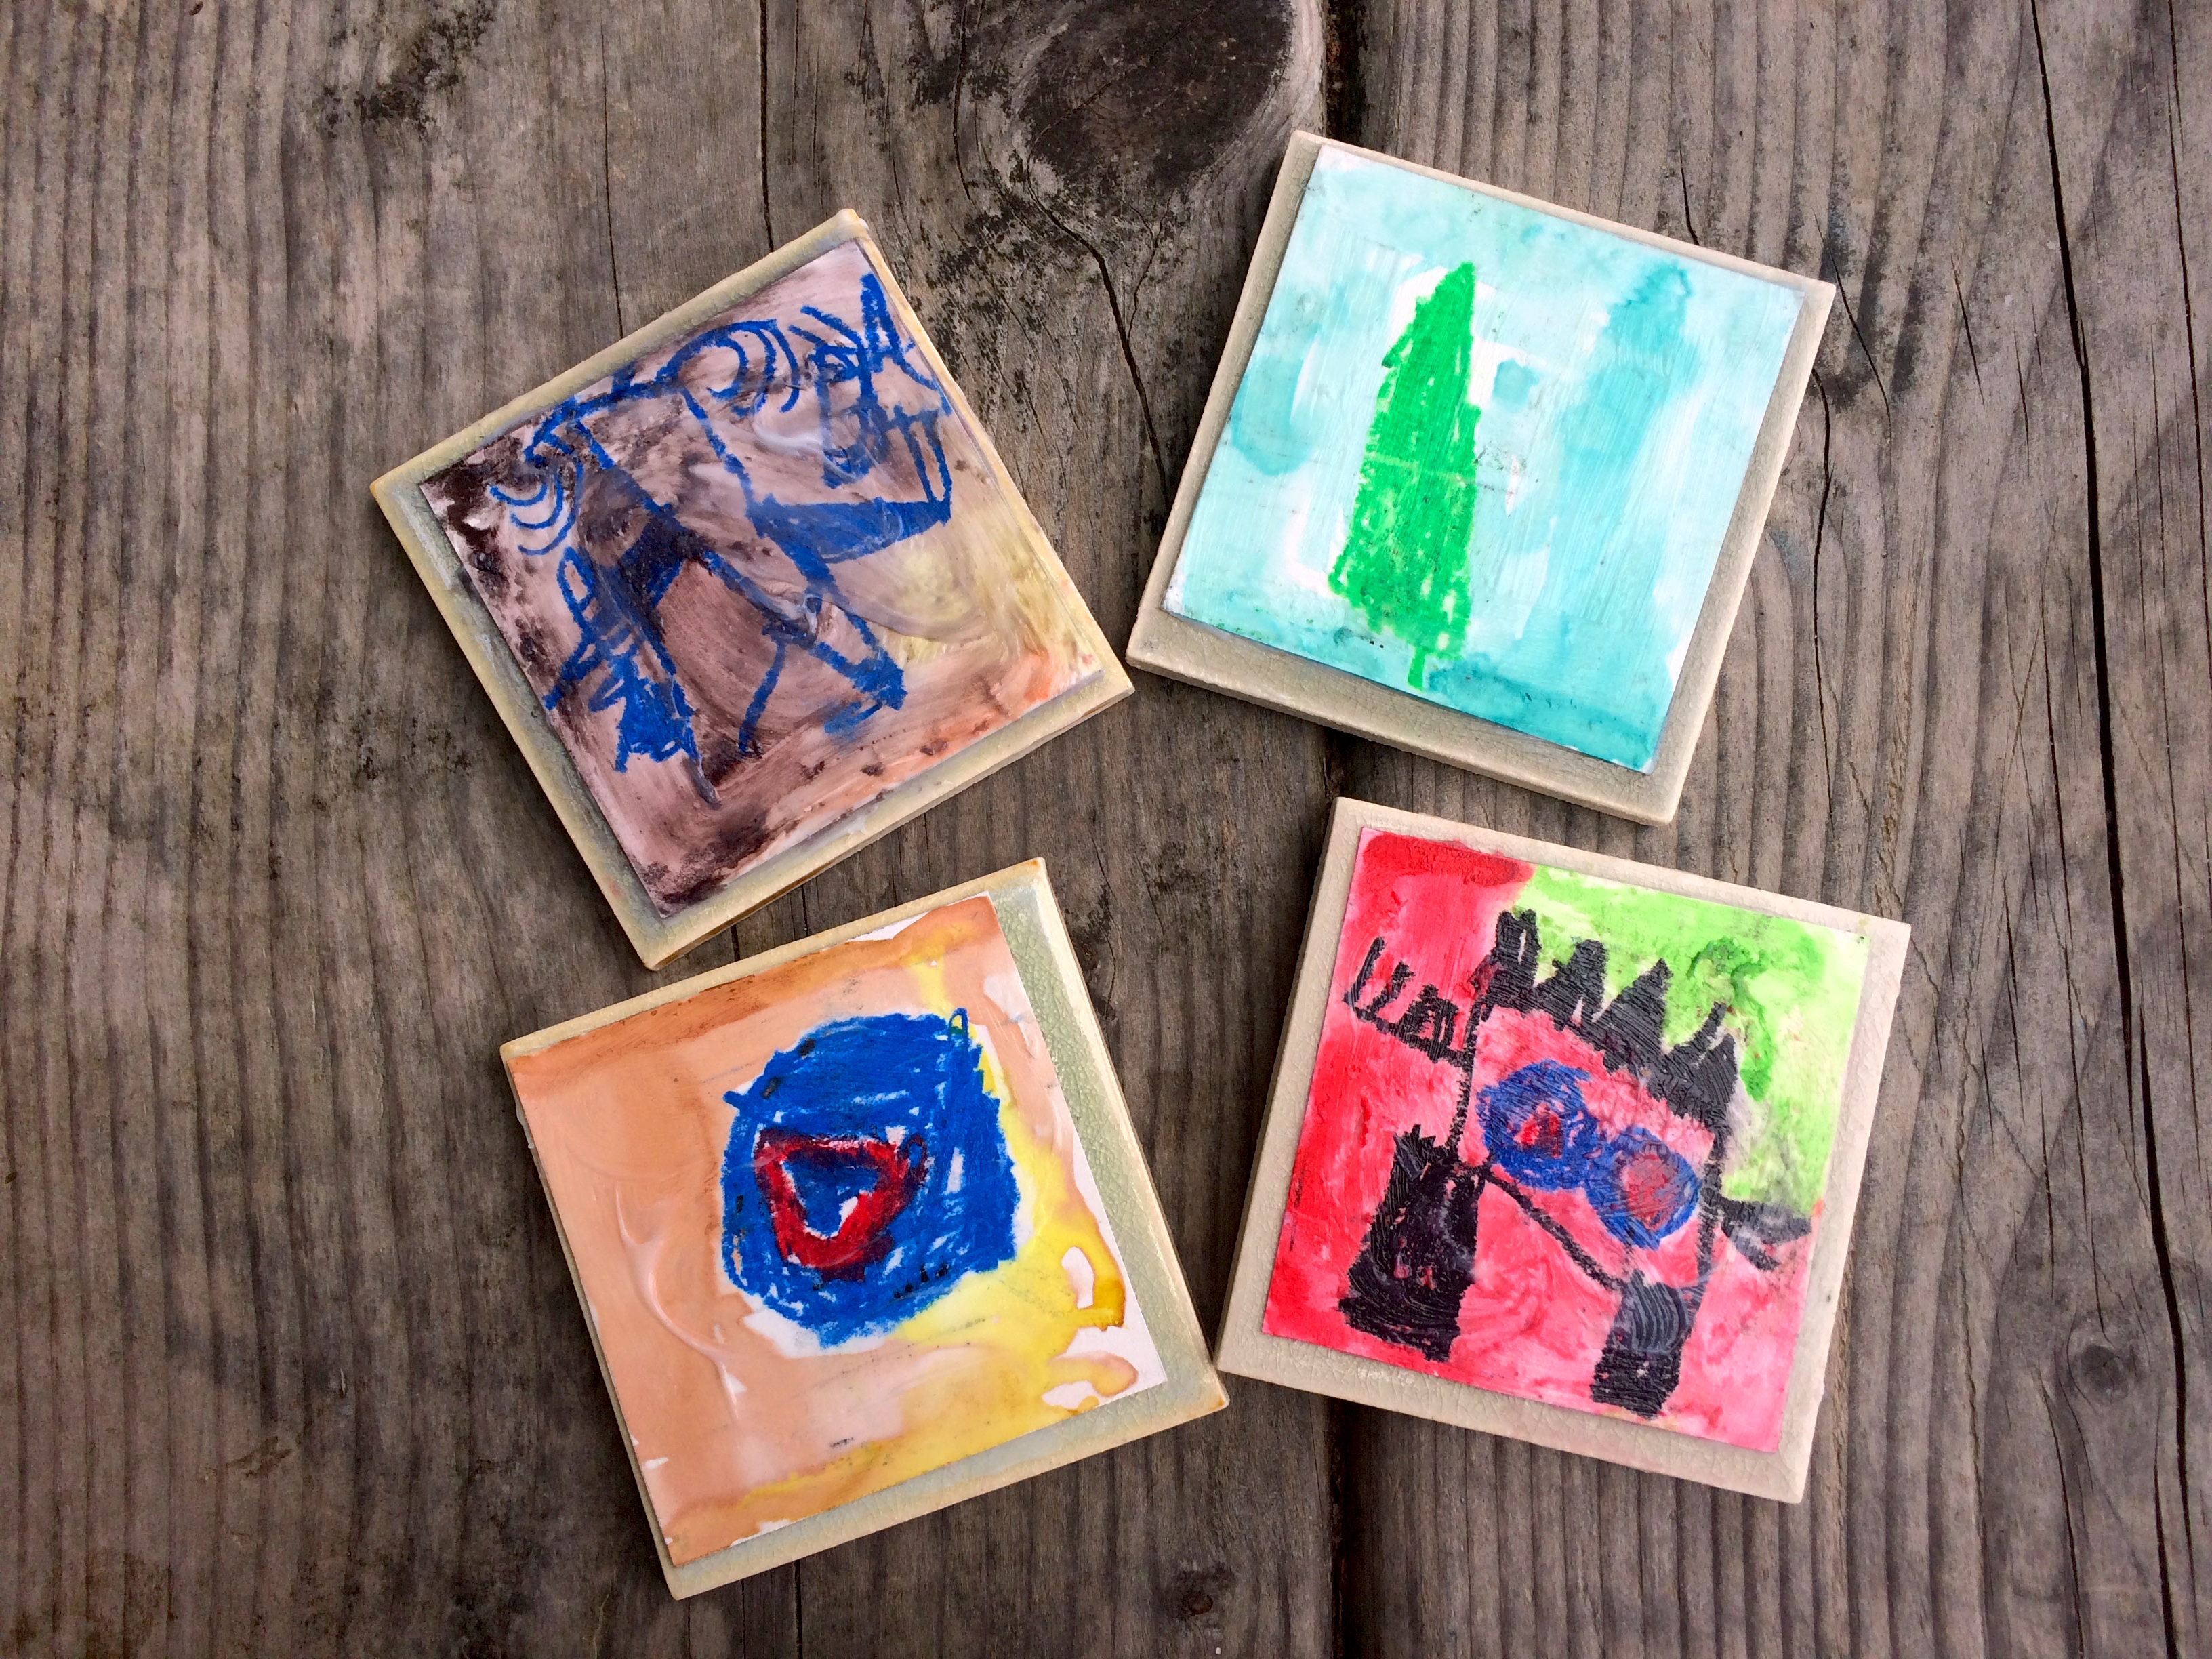
Homemade Coasters
How you make them:
- Cut the paper into four squares. Our tiles were 4 inches per side so we cut our squares to 3.5 inches on all four edges.
- Have your little one draw and/or paint four images thinking about Dad. When a 6-year-old and I were doing this together, he decided to draw dinosaurs because they had been reading a lot of dinosaur books together. Your tiny artist can draw all about the same thing or choose four separate images —totally up to him or her!
- Once the drawings are done and completely dry, have your little one flip each paper over onto a protective sheet of paper or cardboard. This step is to protect the table you’re using.
- Have your kid paint the fixative (Mod Podge or acrylic matte medium) from edge to edge, going on to the protective sheet underneath to make sure the whole square is covered.
- Once covered, press the art, somewhat in the middle, onto each tile and make sure that all of the air bubbles are out. To do this, we used a printmaking squeegee but a ruler would work too.
- When the paper is stuck, put a coat of fixative on top or the art that’s stuck onto the tile.
- To make sure these are waterproof, follow the instructions on the EnviroTex Lite bottle. When the mixture is set, rest each coaster on top of an upside-down cup in the cardboard box and pour some of the mixture on top of each coaster. It will start dripping off of the four sides, which is totally fine. If it doesn’t reach the corners, use a piece of scrap cardboard to spread the mixture so that the whole tile is covered. Let them sit covered for 24 hours before use.
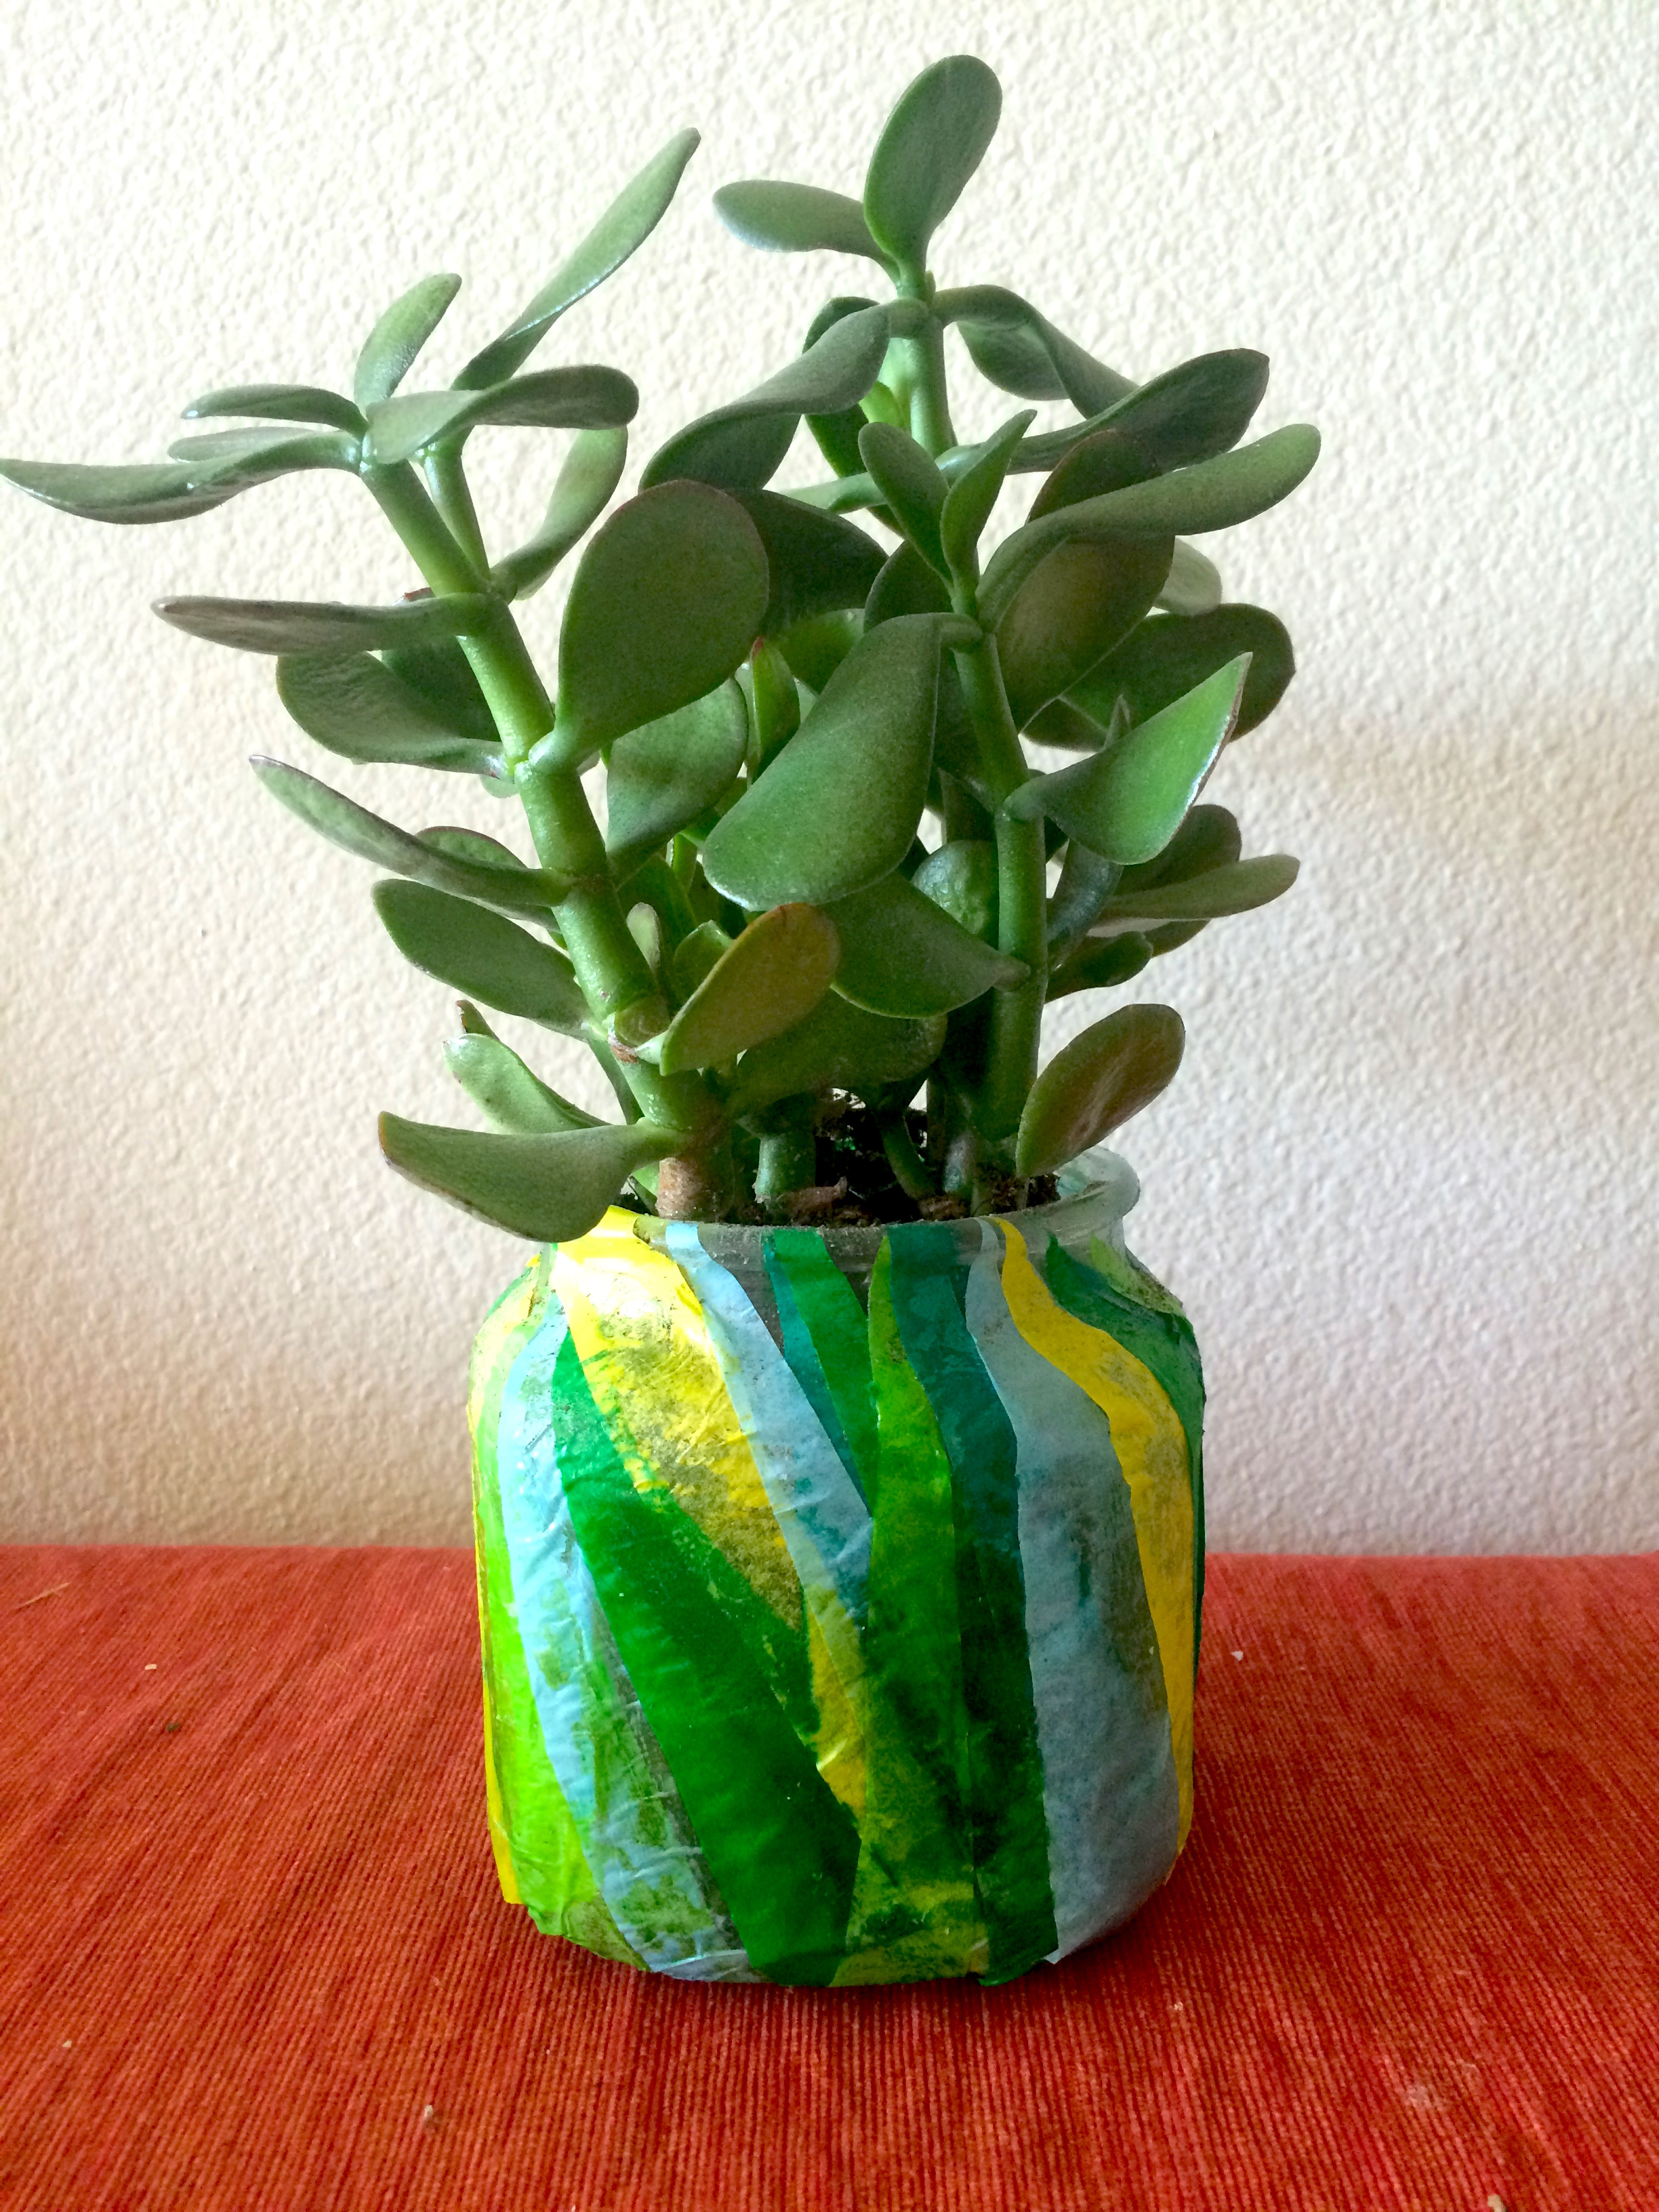
Photo credit: Art&Soul Studios Homemade Planter
How you make it:
- Either cut pieces of tissue paper ahead of time or cut and tear them with your little one. We chose to use greens, blues and yellow for our tissue paper.
- Paint the Mod Podge onto the glass and stick the tissue paper on. This step will be repeated over and over again until the whole glass is covered.
- Have the glass completely dry. When it’s done, plant your plant! We planted a succulent, which turned out really cute. We made sure to fill the bottom with rocks or moss to make sure there was enough drainage since the glass doesn’t have a hole in the bottom.
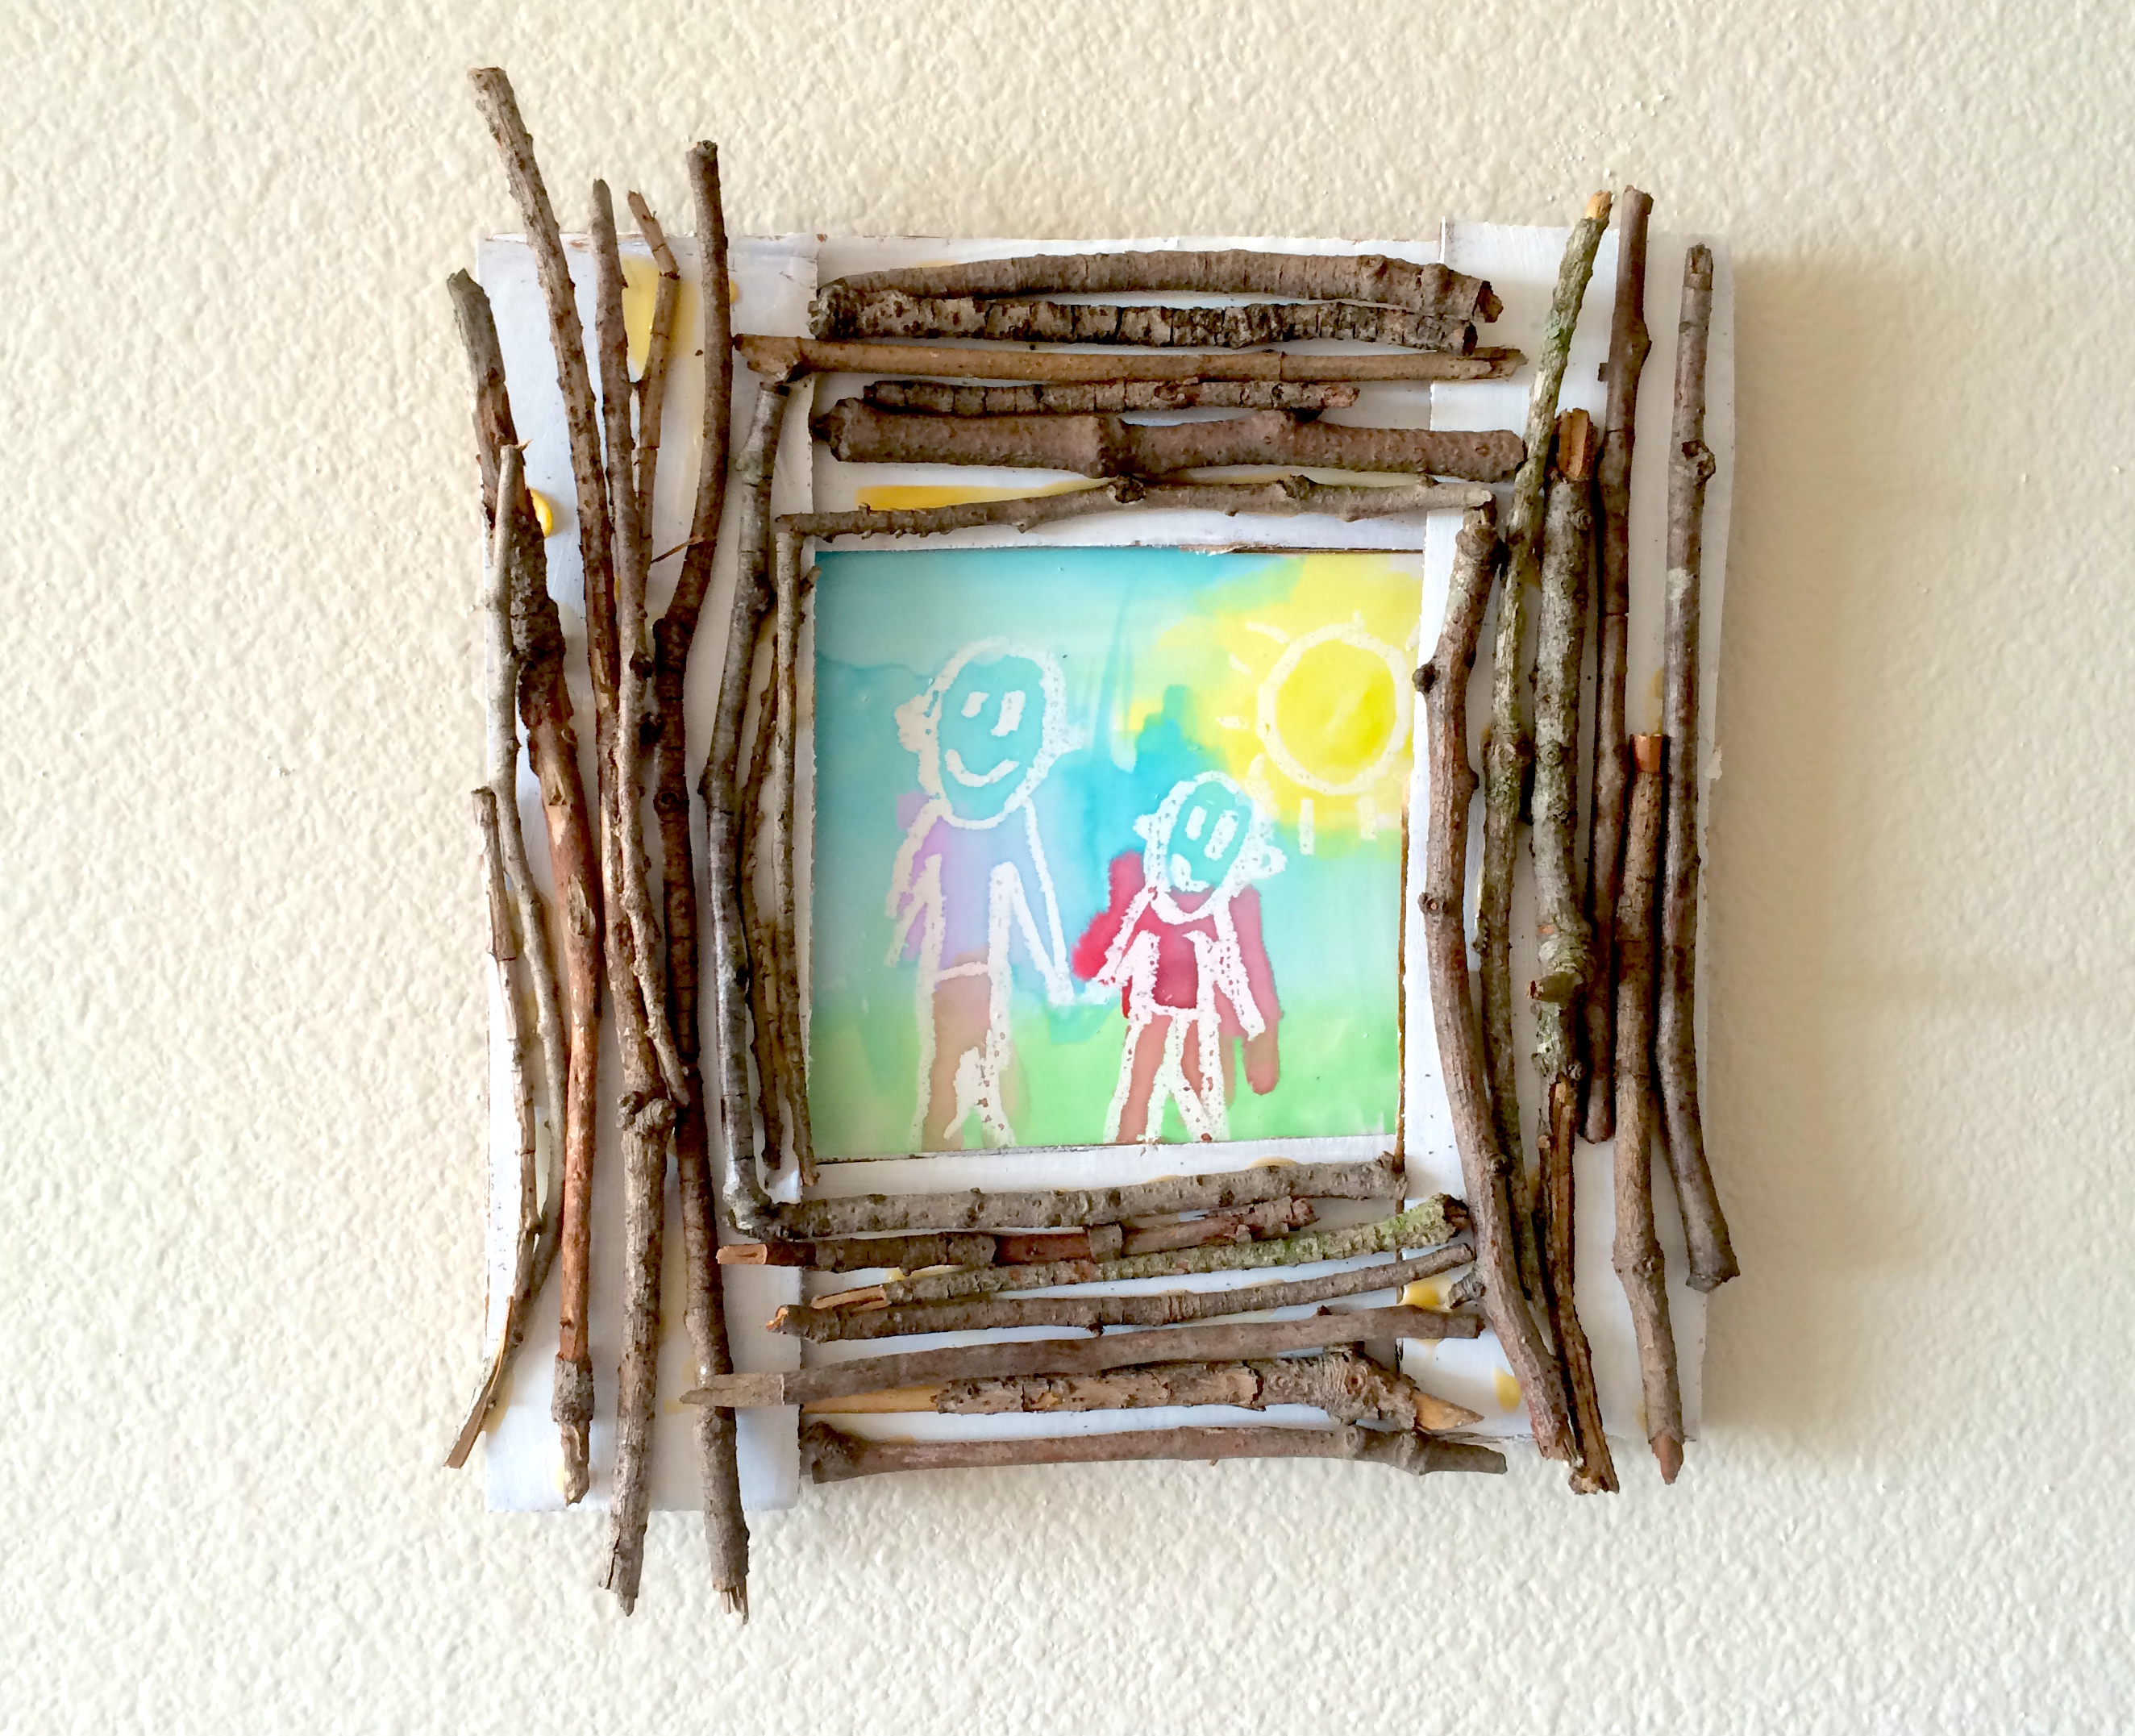
Twig Frame
How you make it:
- Have your child pick which color(s) he or she would like to paint the frame. We chose white and used acrylic paint but tempera paint should work well, too.
- Paint the four rectangles and let them dry.
- Glue the frame together using school glue. We layered the ends of the two vertical pieces on top of the ends of the horizontal pieces. Make sure that the photo or art that you are using fits inside of the frame.
- Have your child sort out the small sticks from the big sticks, putting them in two piles so that they’re all organized for when you’re ready to glue.
- Squeeze a small amount of wood glue onto each stick as you add them to the frame. Continue gluing until there’s no more room.
- Let the wood glue dry completely.
- Turn the frame over and put the picture in the middle. Using school glue, glue around the sides of both the frame and the picture and place the cardboard backing on top.
- To finish, fashion a back support by either attaching a triangular cardboard piece or gluing twine to the back. You’ll want to show off your masterpiece!