
Canning or quick pickling?
Canning is a great way to preserve fruits and vegetables from your garden or local farmers’ market. There are two approaches: the more intensive water bath canning and the easier quick pickle. Both offer great flavors but are made differently.
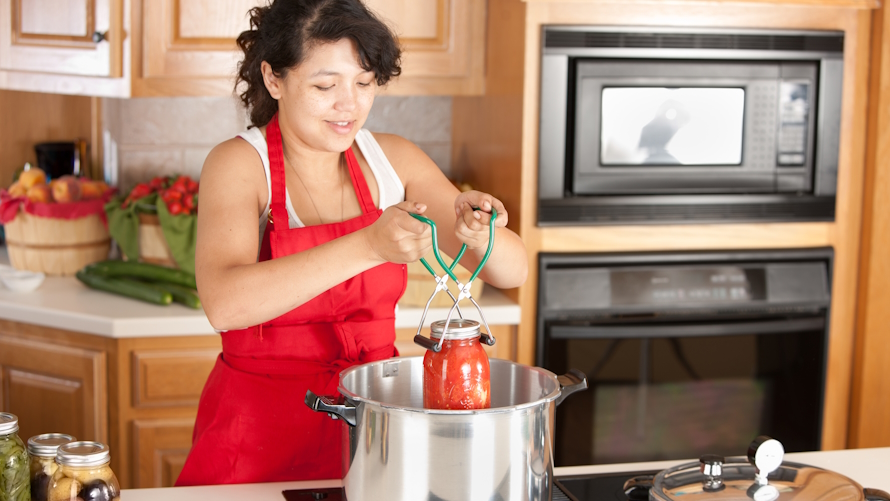
Water bath canning is used to safely preserve pickles that are shelf-stable, which means more room in your refrigerator for other food. This method relies on a careful balance of acid, sugar and high heat to preserve fruits and vegetables, keeping them safe from bacteria and other spoilers. Though it takes time, you’ll end up with a cupboard full of beautiful jars of preserved foods to enjoy throughout the year.
Quick pickles, also known as refrigerator pickles, are perfect if you have little time and want to make small batches to keep in the fridge. These pickles, unlike water bath canned pickles, are quick and easy to prepare. However, they are not shelf stable and need to be eaten within a couple months.
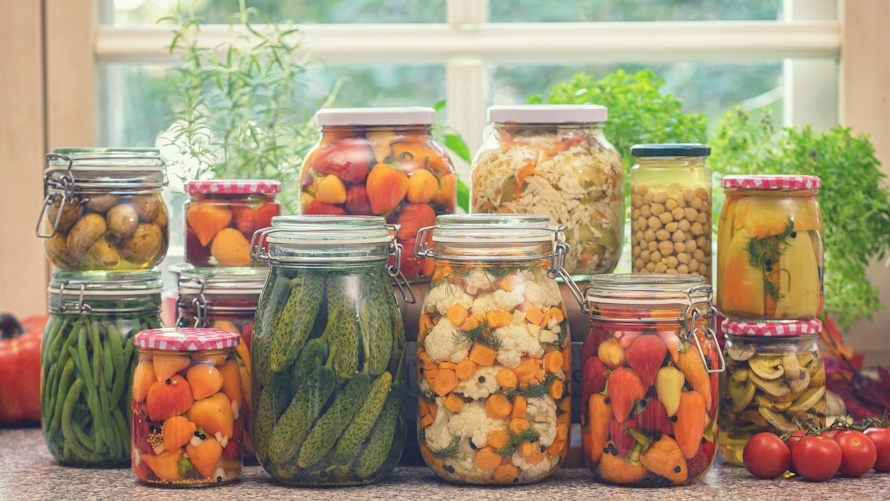
Whether you choose to quick pickle or can, you must always follow tested recipes, use clean equipment and choose the freshest produce available. For both processes, you can think beyond the cucumber and use almost any type of fruit or vegetable you like. Though you can play with flavors (adding different spices, herbs or other ingredients like garlic and ginger). The balance of sugar, acid and salt is key to making a safe (and tasty) product to share with family and friends.
Up first: How to get started
How to get started
The tools
- Mason jars, lids and bands
- Measuring cups and spoons
- Stainless steel pots and bowls
- Canning funnels
- Jar lifter
- Large canning pot (water bath canning only)
How to do it
1. Always start with a trusted and tested recipe for the specific method and type of fruit or vegetable you’ll be preserving.
2. Prepare your equipment: Wash your jars, lids and bands in hot soapy water. Sterilize your jars by placing them in boiling water for 10 minutes. Carefully remove with jar lifters and let air-dry.
3. Prepare your fruits and vegetables: Wash and air dry your produce, then trim, peel and cut them into the desired shapes and sizes.
4. Add your flavors: Divide your spices, herbs, garlic or other flavorings evenly between your jars.
5. Add your produce: Pack the fruit and vegetables into the jars, making sure to leave a ½-inch space between the produce and the top of the jar. Pack them tightly, but avoid smashing them.
6. Make your pickling liquid: Prepare a brine according to your recipe and pour over the produce, leaving a ½-inch space at the top of the jar.
7. Clean it up: Carefully remove any air bubbles and wipe the rims.
8. Seal the jars: Place the lids on the jars and screw the rings on until finger tight.
9. Processing: If you’re quick pickling, your work is done. If you’re canning, follow the instructions in your recipe for processing in a water bath.
10. Storing: Always label your cooled jars with what you made and when you made it. Store your quick pickles in the fridge and enjoy within a few months. Keep your canned items in a cool, dark cupboard and eat within one year.
Up next: When you are ready for more
Ready for more
The best way to learn how to safely can is to practice! Take a lesson from a local cooking school or help an experienced friend or family member with their pickles. Gather books or research websites that are dedicated to canning and find trusted recipes, like Simple Summer Pickles. And, most importantly, enjoy!
This article was originally published several years ago, and updated most recently in 2023.